As most of you know, one of the most important elements of great food is the quality of the ingredients. This is particularly relevant living in Montreal where seasonality plays a large part in what we bring to the table. For example, right now we can pretty much forget about having a watermelon salad for the next 5 months! Even though it’s available in our supermarkets, it sadly comes from far and away and this only results in a disappointing tasteless and colourless fruit. So for this reason we focus on seasonal ingredients when deciding on what to eat.
A potato, celery root and leek gratin is a perfect example of bringing seasonal ingredients together. Thankfully we’re not even thinking of having a watermelon salad anyways, as it’s the middle of winter and we’re usually looking for warm, comfort food! This gratin is the perfect fix for that and it is a great accompaniment to a roast beef or a slow cooked meat dish.
This is an easy recipe as long as you have the patience to thinly slice the vegetables. Once that’s done you just assemble it all together in a gratin dish and let the oven do its magic.
This side dish is not only foolproof but it also simplifies life when hosting a dinner as you can make it in advance, even the day before, if you wish. Once it’s cooked, you cool it completely and then refrigerate it until the next day and just reheat and serve. When you’ve prepared a three-course dinner for your guests having a gratin pre-made will save you time in the kitchen and allow you to focus on the other elements of your meal.
Ingredients:
- 1 1/2 cup heavy cream (35%)
- 2 garlic cloves, peeled
- 2 sprigs of thyme plus 3 teaspoons fresh thyme leaves
- 1 tablespoon unsalted butter
- 2 leeks, halved lengthwise, thinly sliced
- 1 lb. russet potatoes, peeled and thinly sliced (1/8” thick)
- 1 celery root, peeled and thinly sliced (1/8” thick)
- 1 cup Gruyère cheese, finely grated

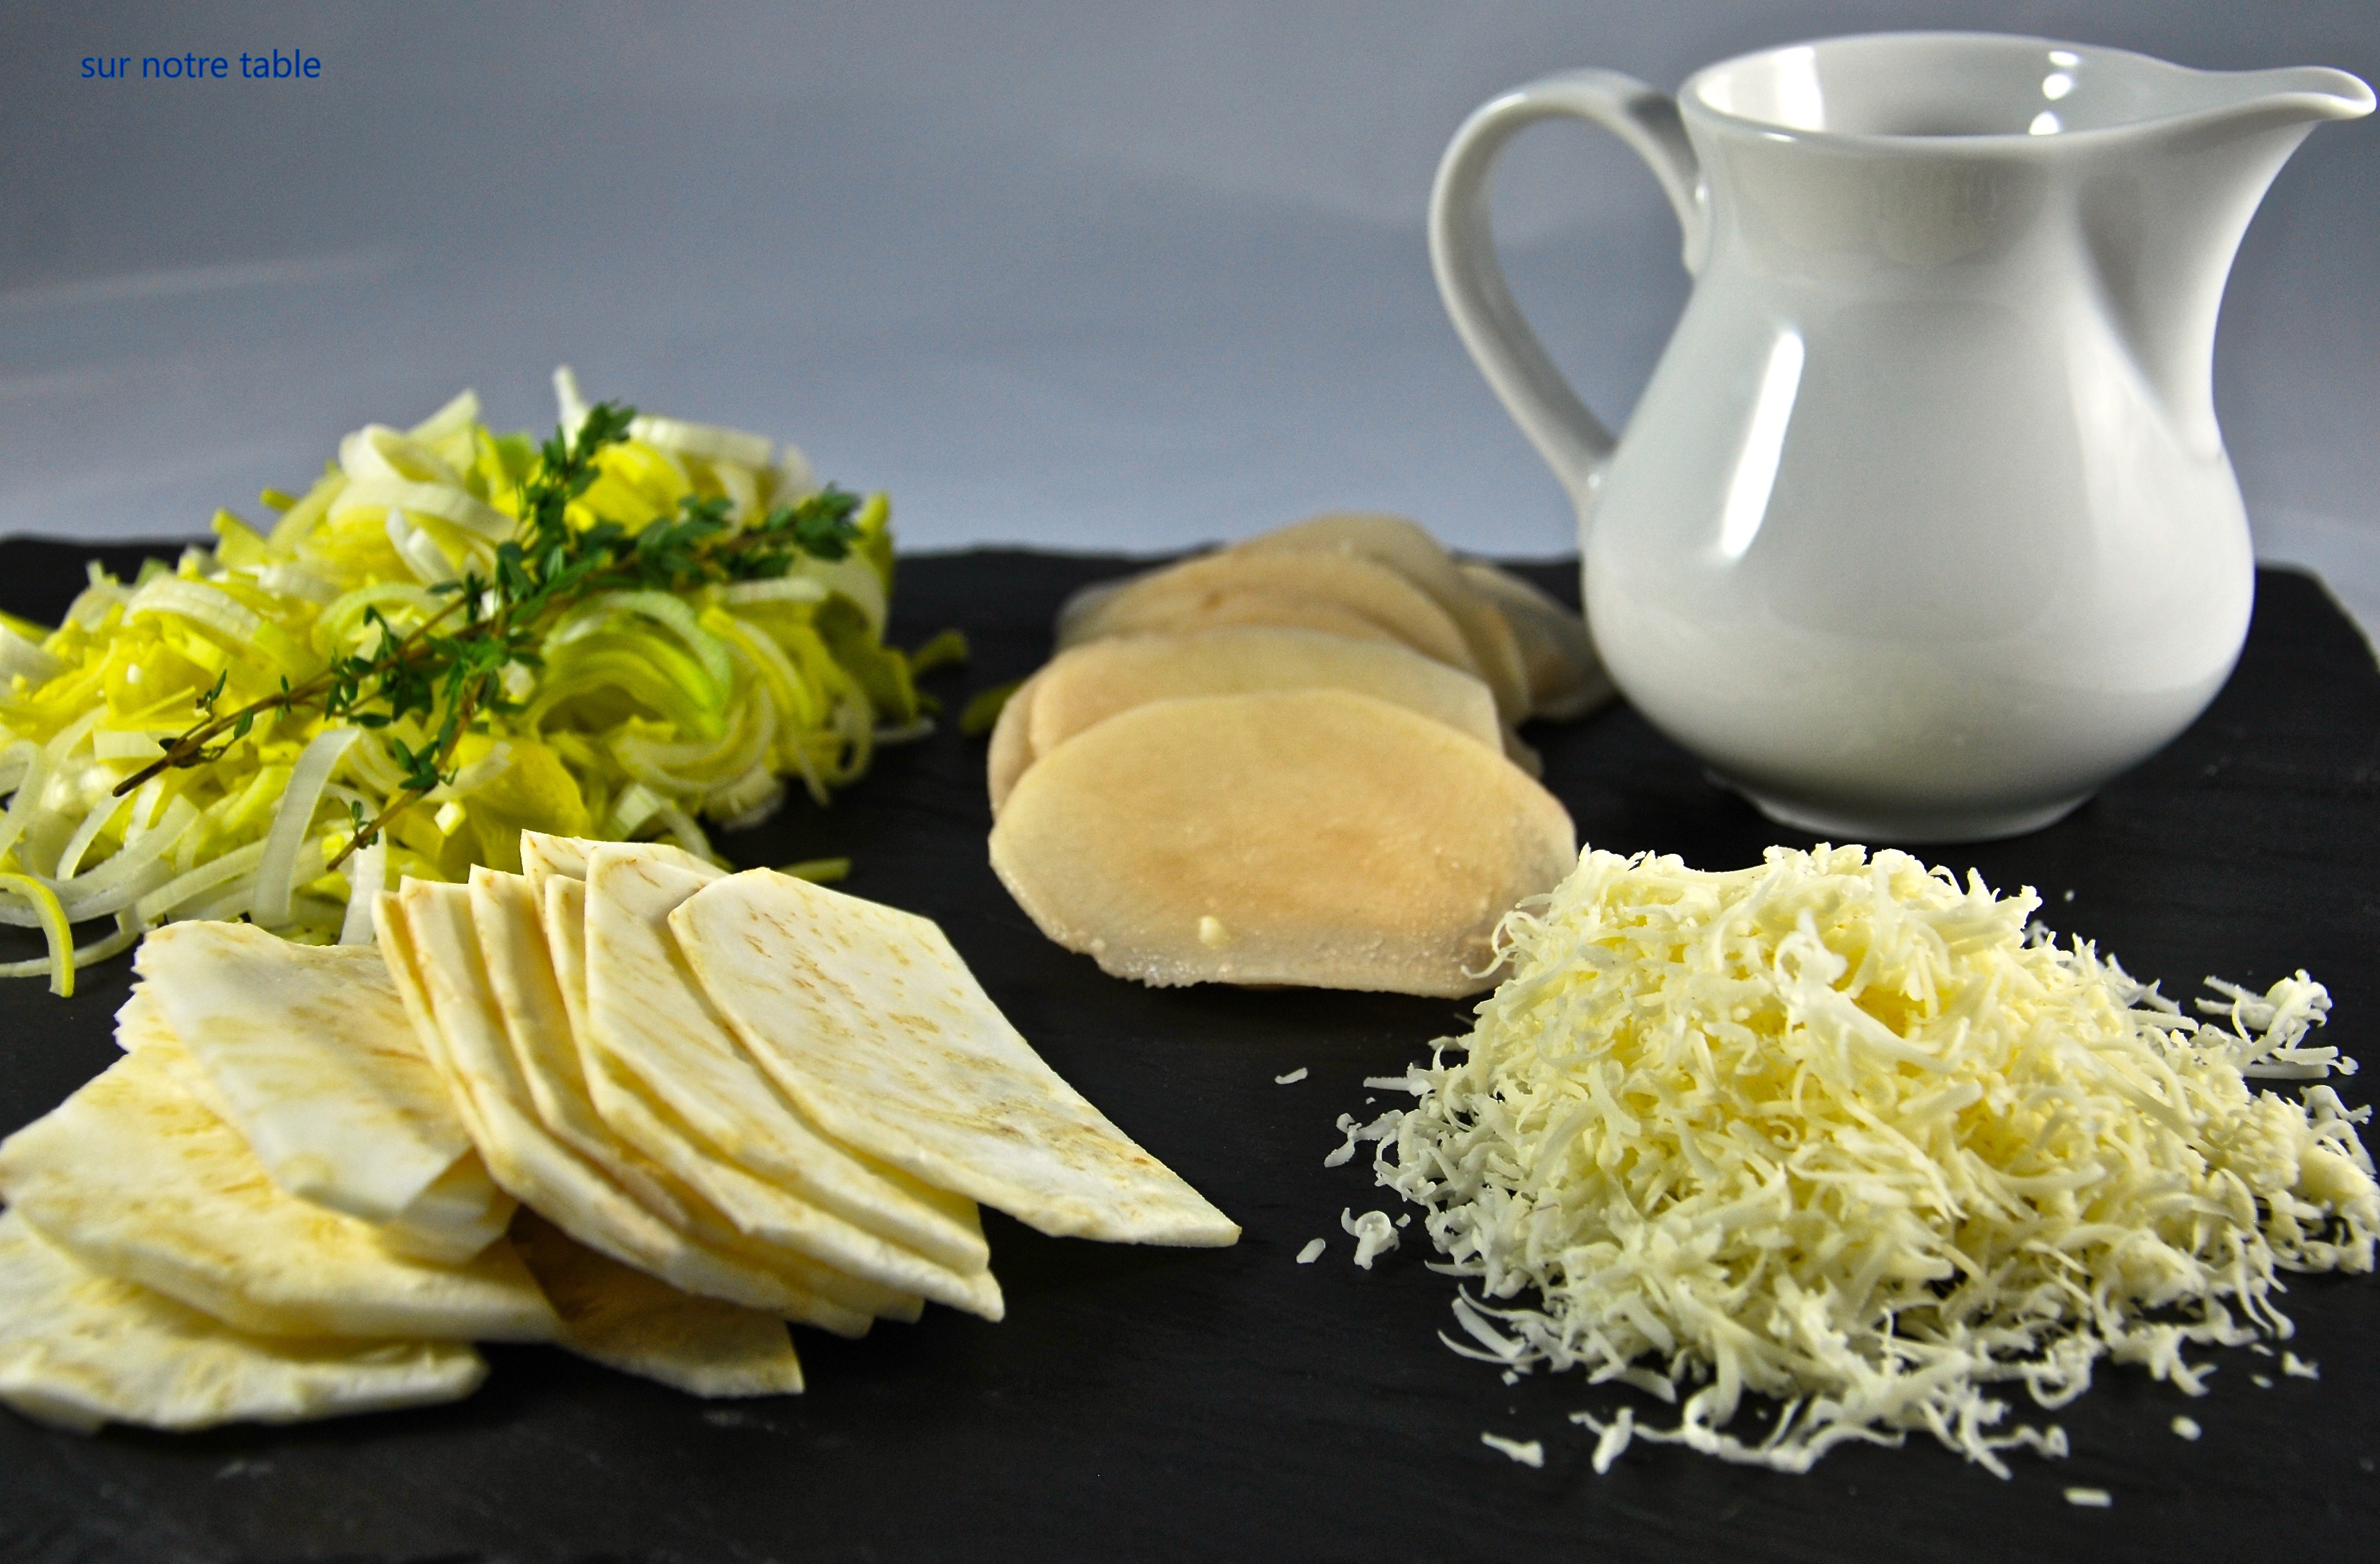
gratin ingredients: potatoes, celery root, leeks, thyme Gruyère & cream
- Preheat oven to 350oF. Heat cream, garlic cloves and thyme sprigs in a small saucepan over medium-high heat until bubbles appear on the edge. Remove from heat.
- Melt 1 tablespoon of butter in a medium skillet over medium heat. Add leeks and season with Kosher salt. Cook leeks until tender (do not brown) for about 12 minutes, stirring often. Once cooked set aside.
- Once peeled, thinly cut the potatoes and celery root into slices about an 1/8 inch thick. A food processor is actually the best kitchen equipment for the job as it will not only slice them equally but will do so in just a few seconds. But no worries if a food processor is not part of your kitchen arsenal, you can do it by hand or by using a mandoline. The celery root which is also referred to as celeriac has a very knobby exterior which must be peeled as well. The best method to peel the celery root is to slice off the exterior of the vegetable by using a knife instead of a peeler.
- Butter a square baking dish. To make the gratin all you have to do place three layers of all the different ingredients in the baking dish. Start with a layer of potato slices to cover the bottom of the baking dish, then add over top a layer of celery root slices. Then sprinkle this layer with salt and pepper and some of the thyme leaves. Repeat this process twice more. Then just add on top, the Gruyère cheese.
- Strain the cream into a bowl and then pour cream all over the top of the gratin dish.
- Tightly cover the baking dish with aluminum foil and place in stove and bake for 1 hour. Then remove foil and bake another 25 to 30 minutes until the top gratin is golden brown and sauce is bubbling. Let stand 15 minutes before serving!

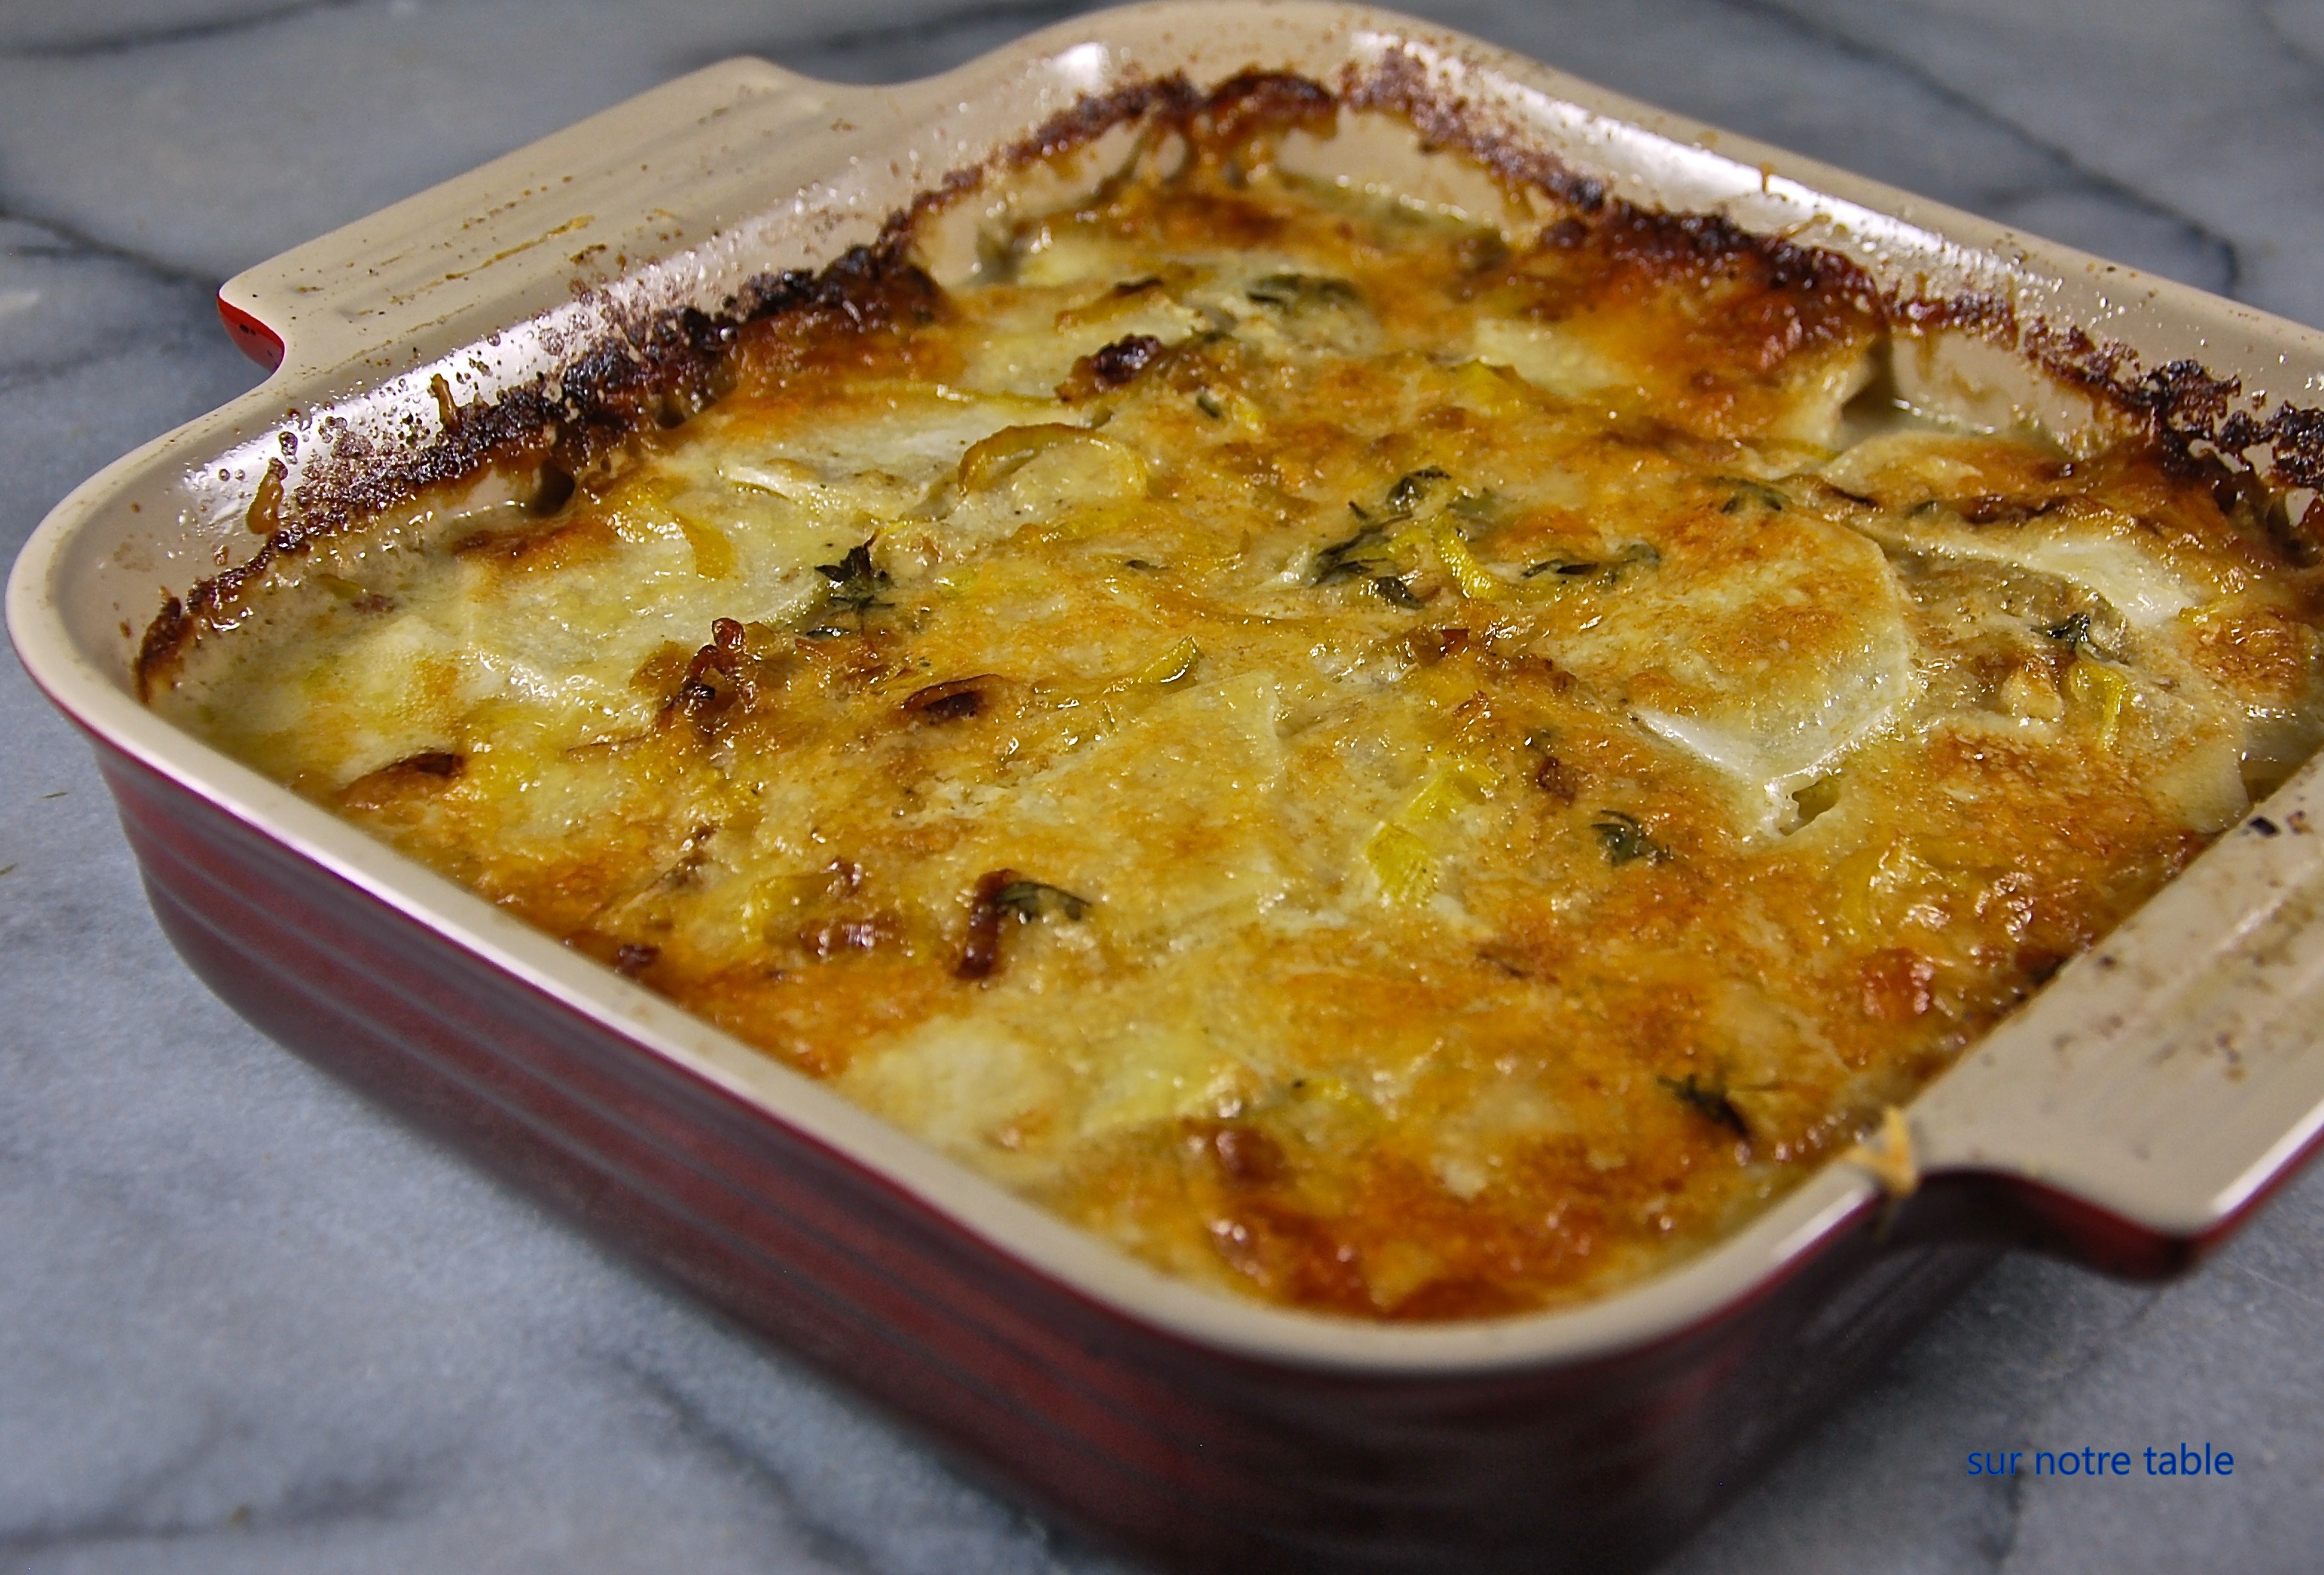
Potato and celery root gratin
To reheat the following day, simply pre-heat the oven at 325oF and reheat gratin for 30 minutes. When reheating keep an eye on the gratin to ensure top layer is not browning too much if it is just cover dish with aluminum foil.