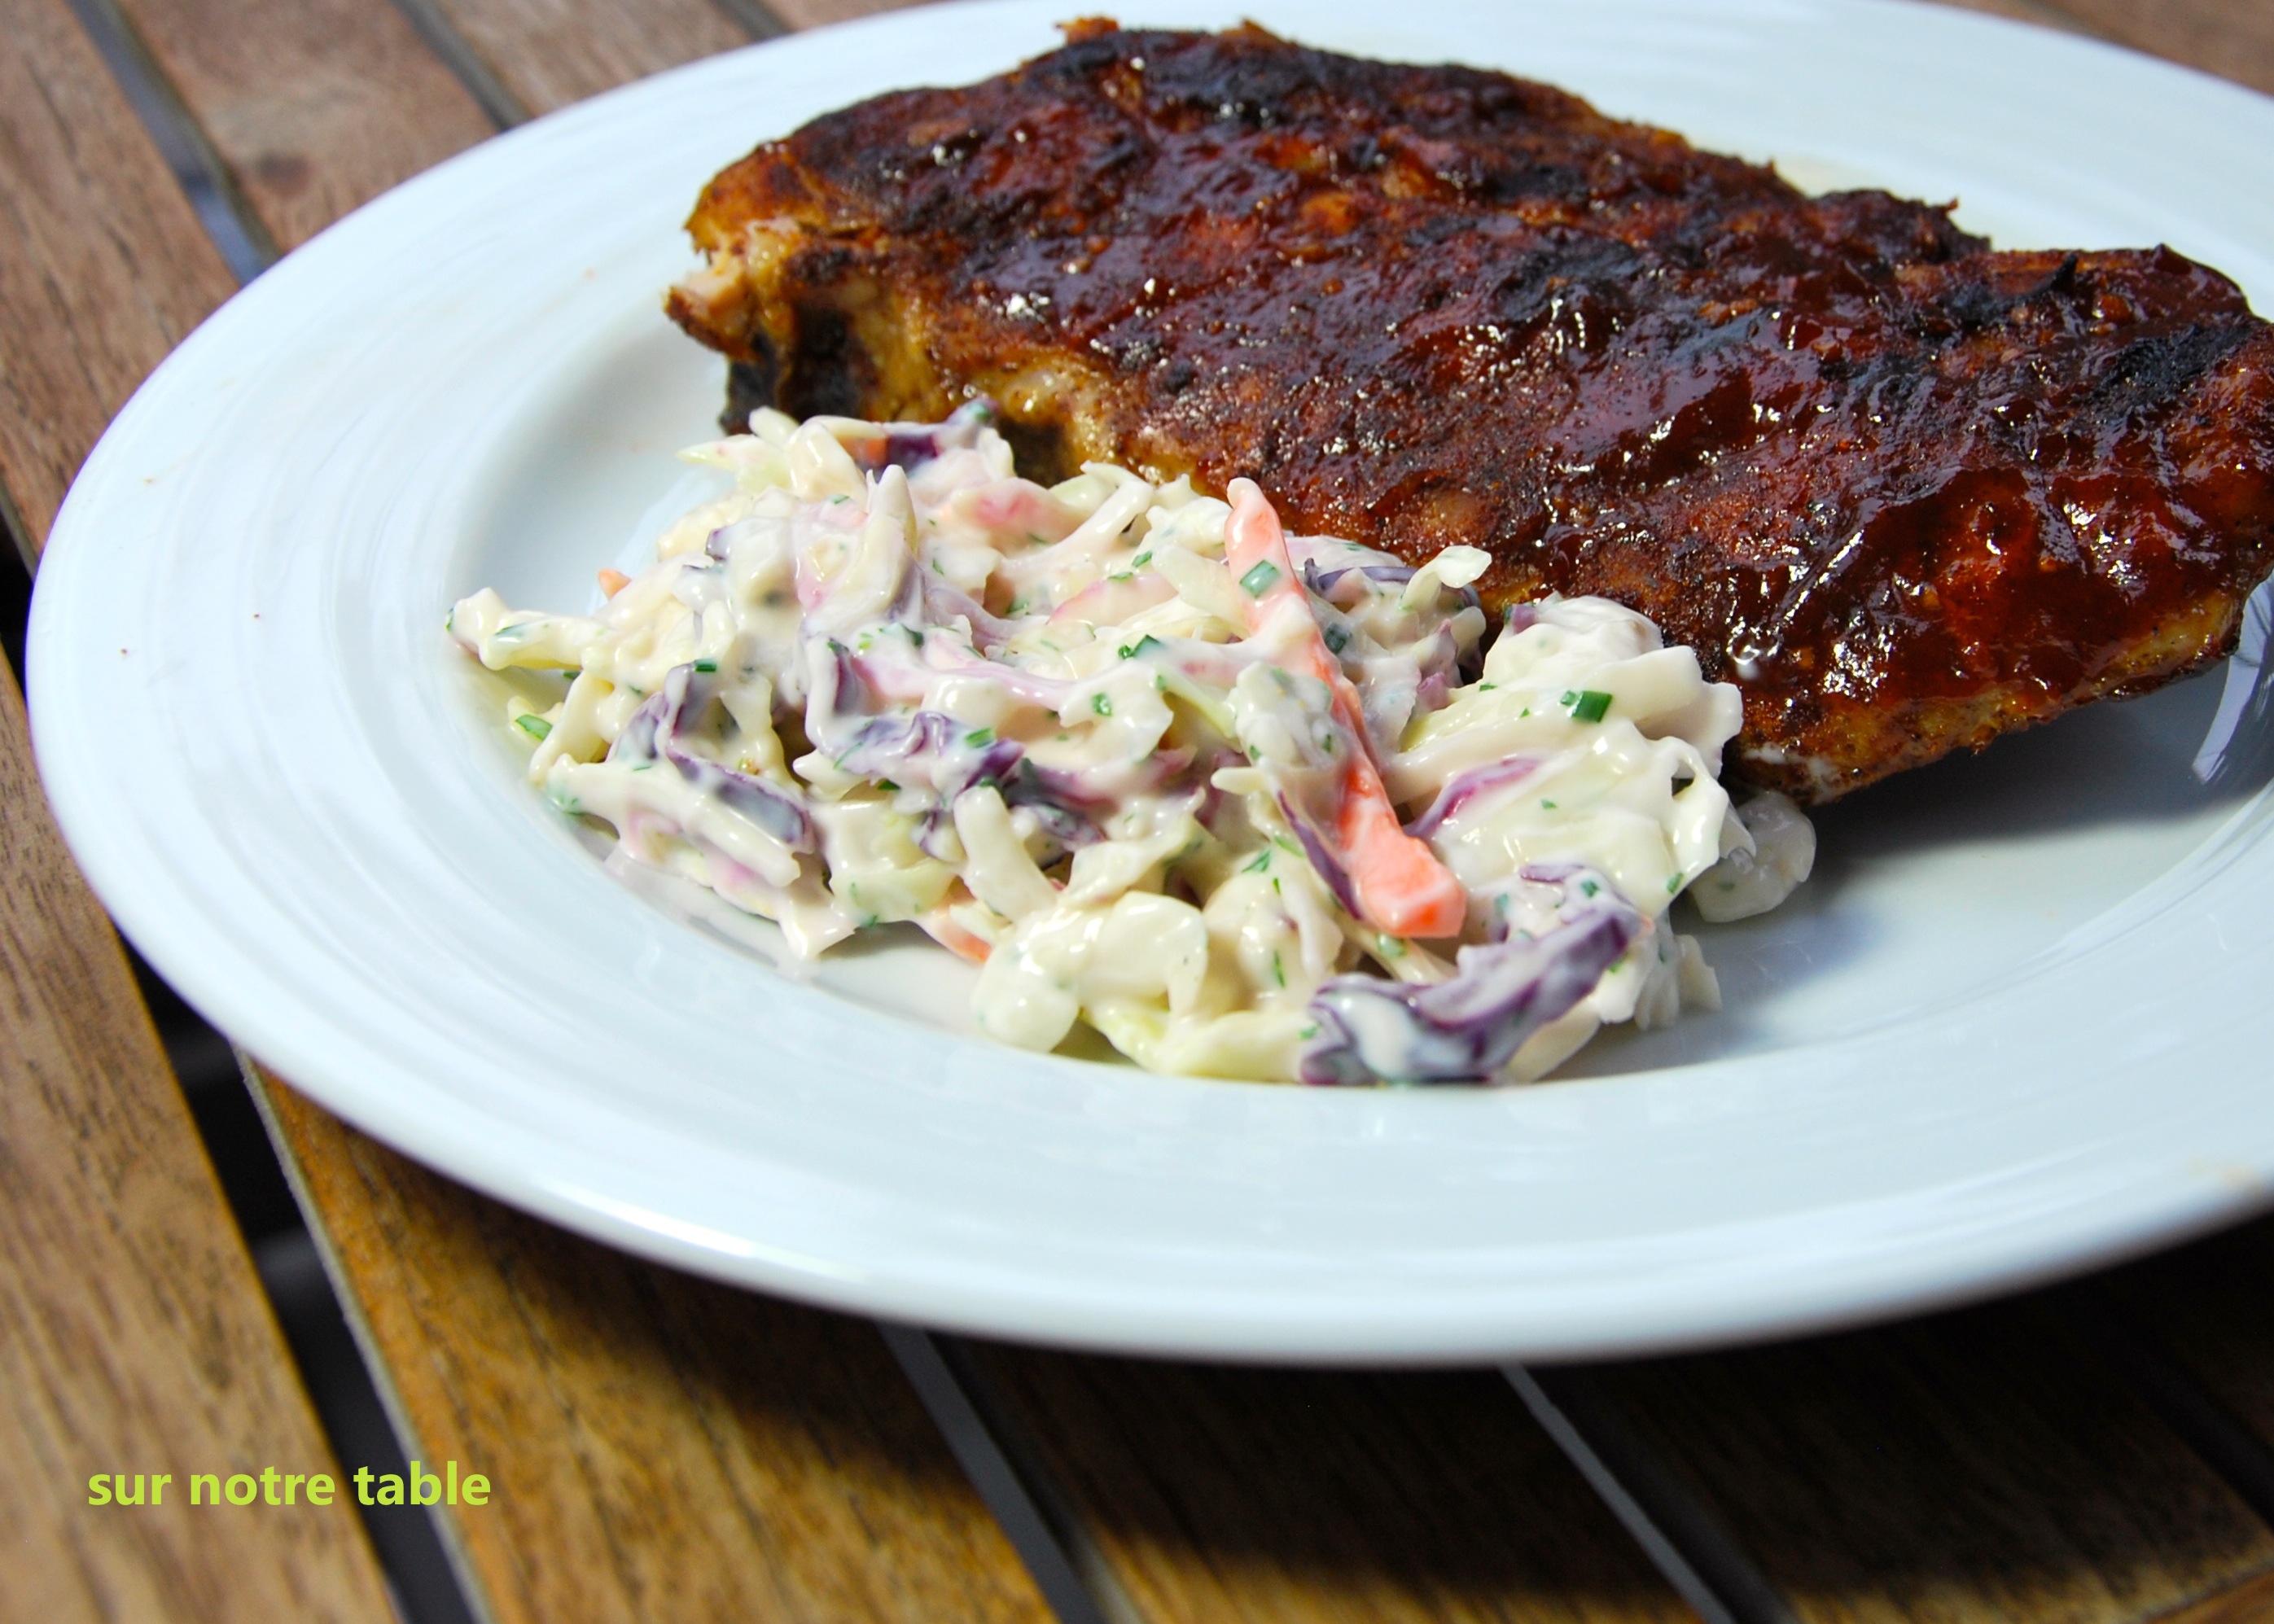
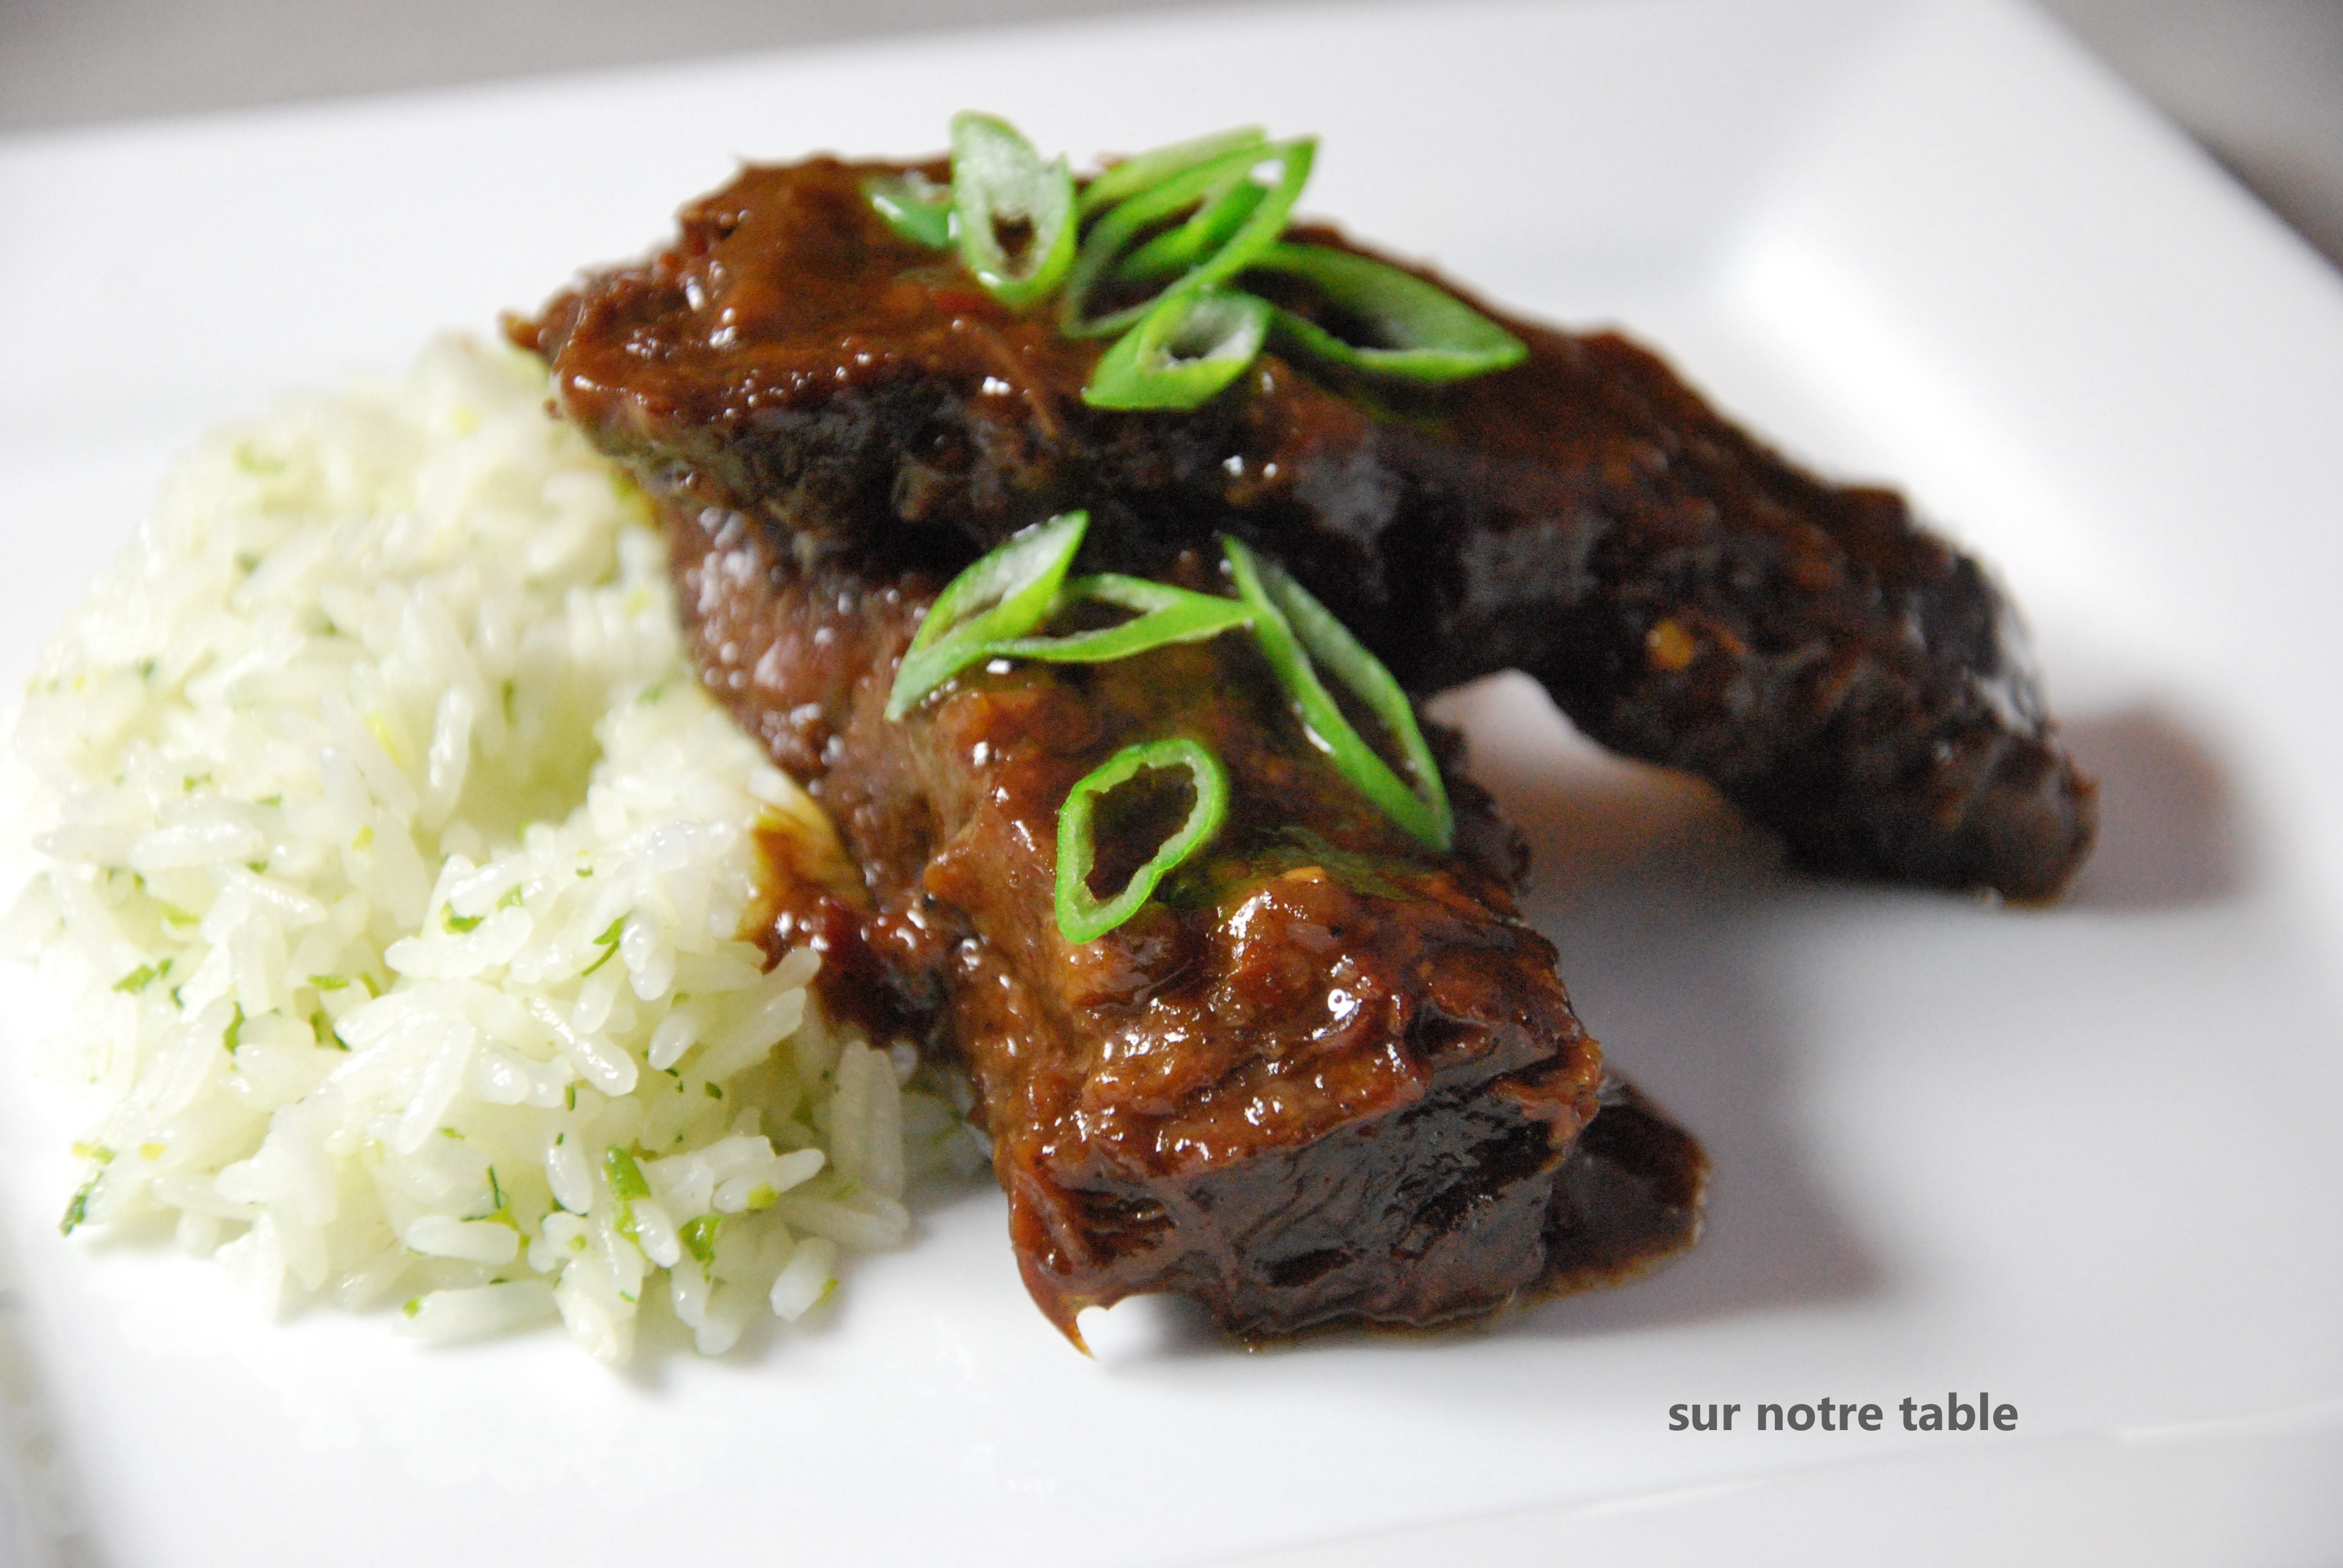
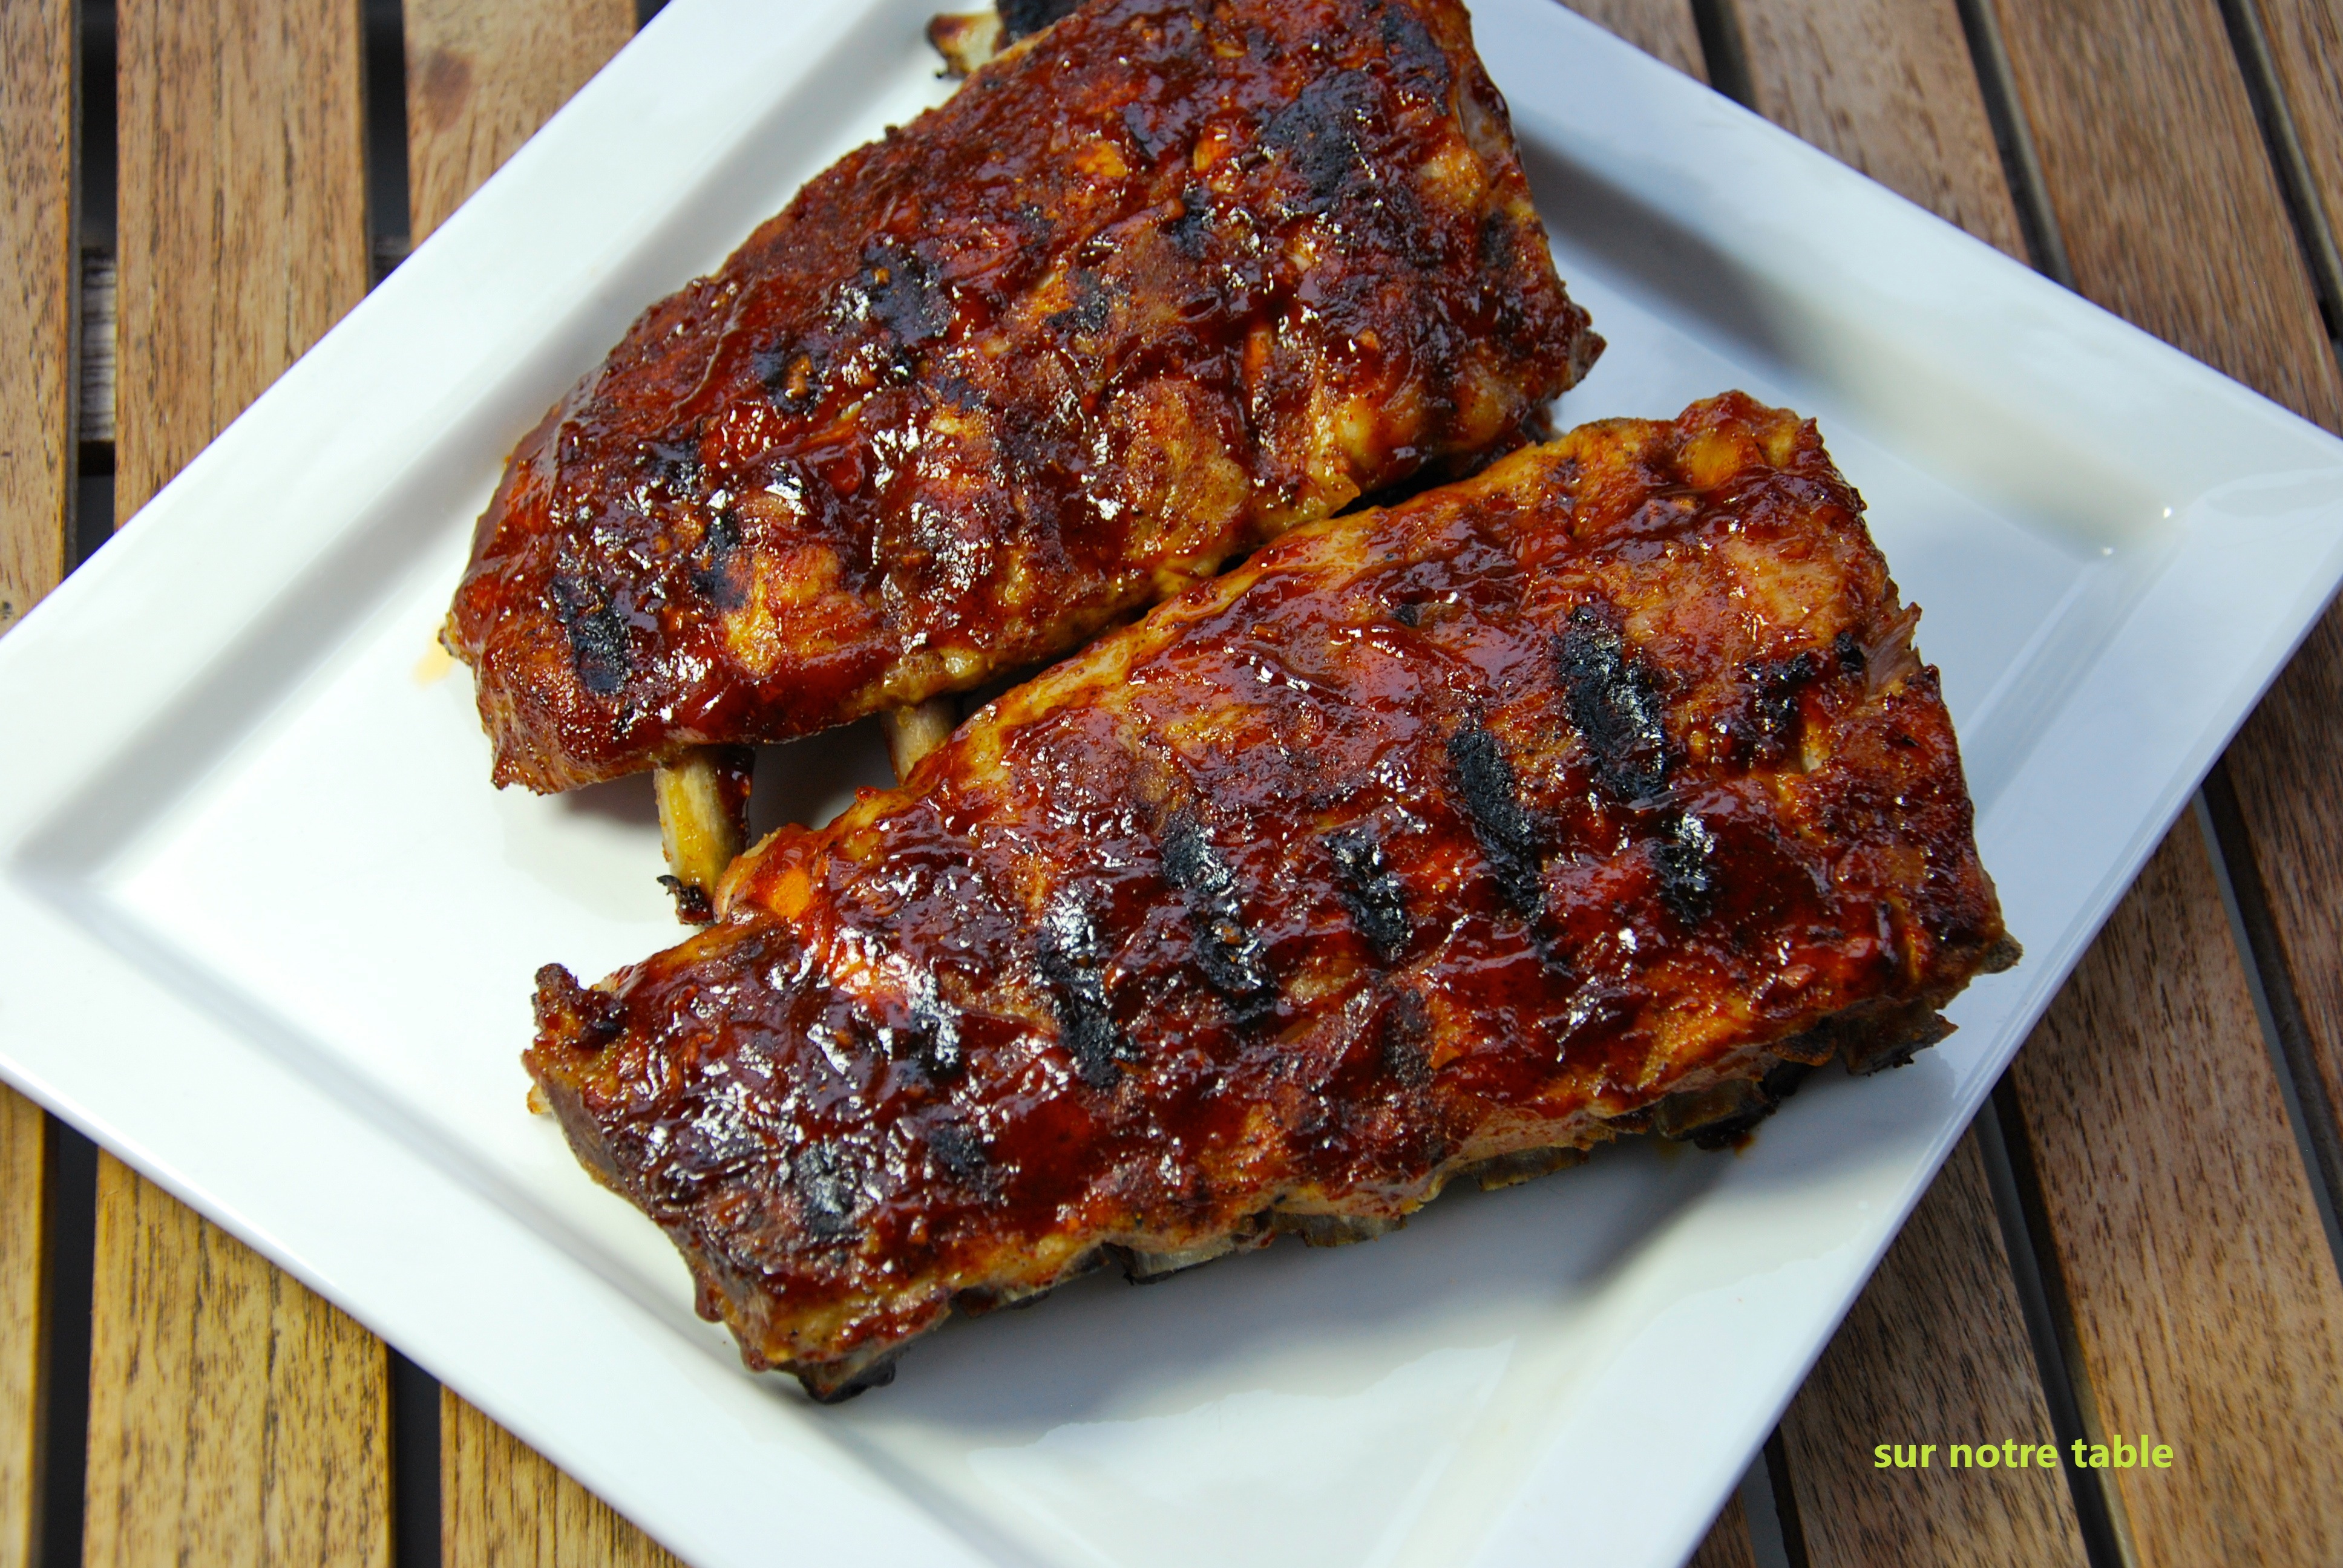
spicy baby back ribs
Believe it or not, you can actually make your own super tender spicy baby back ribs in your kitchen. Southerners are famous for their smoked ribs but it’s actually very easy to get similar results at home and you don’t even need a smoker, all you need is an oven and a BBQ! And even if you don’t have a BBQ, you can even use the broiler in you oven to caramelize them.
These are so easy to prepare you won’t believe it. All the work is done in the oven with very little involvement from you. The secret to super tender ribs is to slow cook them in your oven at a very low temperature for 5 hours, that’s it! This is the perfect recipe when hosting a BBQ for a large group as it takes little effort, and everything can be prepared in advance except for the final stage at the BBQ where you caramelize the ribs with the sauce.
I must however outline just a few tips when buying the pork ribs. We’re actually fortunate in Quebec for having some of the best pork around, however this may not be the case everywhere else. Since there are no grades of pork as there are with beef, to ensure you get the best pork ribs simply pick a rack that has a deep pink colour.
Additionally, note that before we apply the rub on the ribs, it is also important to remove the membrane, which is found on the back of the bone-side of the ribs. This is however the most difficult thing to do as sometimes it all comes off in one piece and other times you just have to go at it in strips.
The best way to remove the membrane is to start at the narrowest end of the ribs on the bone-side of the ribs, and at this point, using your knife, lift up the corner of the membrane so you can grab a hold of it. Then grab the corner of the membrane with a paper towel and pull it straight up and away from the rack of ribs, sometimes it helps to just to run your fingers under it to push it along. Yes, I know it doesn’t sound like much fun but that’s really the only hard part in preparing these ribs! Trust me it will be worth it and once you do a few of these you’ll get the hang of it!
Serves 4
ingredients:
- 4 half racks of baby back ribs
- 3 tablespoons chili powder
- salt and freshly ground pepper
BBQ sauce ingredients:
- 1 cup tomato ketchup
- 1/3 cup apple cider vinegar
- ¼ cup orange juice
- ½ cup honey
- 4 garlic cloves, minced
- 2 tablespoons Worcestershire sauce
- 2 tablespoons chili powder
- 1 tablespoon dry mustard
- 2 teaspoons ground cumin
- ½ teaspoon ground ginger
- ¼ teaspoon ground cinnamon
spicy baby back ribs
- Cut a piece of aluminum foil double the length of a rib rack and place it on a baking sheet.
- Once you have removed the membrane from the back of the pork ribs, place two racks on each baking sheet and sprinkle the chili powder all over both sides of the ribs and massage it in. If time permits it’s best to refrigerate the ribs, uncovered, for an hour or so, which will help the rub infuse the meat.
- Preheat oven to 250oF. Fold the foil over the ribs so all the meat is covered and fold over all the edges to make a bundle. Then cut a couple of small vents with a knife on the top of each bundle.
- Place the baking sheets in the oven and bake for 3 hours.
- Then reduce the heat to 225oF and bake for another 2 hours.
- After cooking for 5 hours the meat should be very tender and the meat should have started shrinking away from the bones.
- While you are heating up the BBQ to high, you can prepare the sauce. In a medium saucepan stir together all of the ingredients for the sauce and place over medium heat and bring to a simmer. Cook sauce uncovered, stirring occasionally, until all of the flavours are well blended for about 15 to 20 minutes. Remove the sauce from heat and set aside.
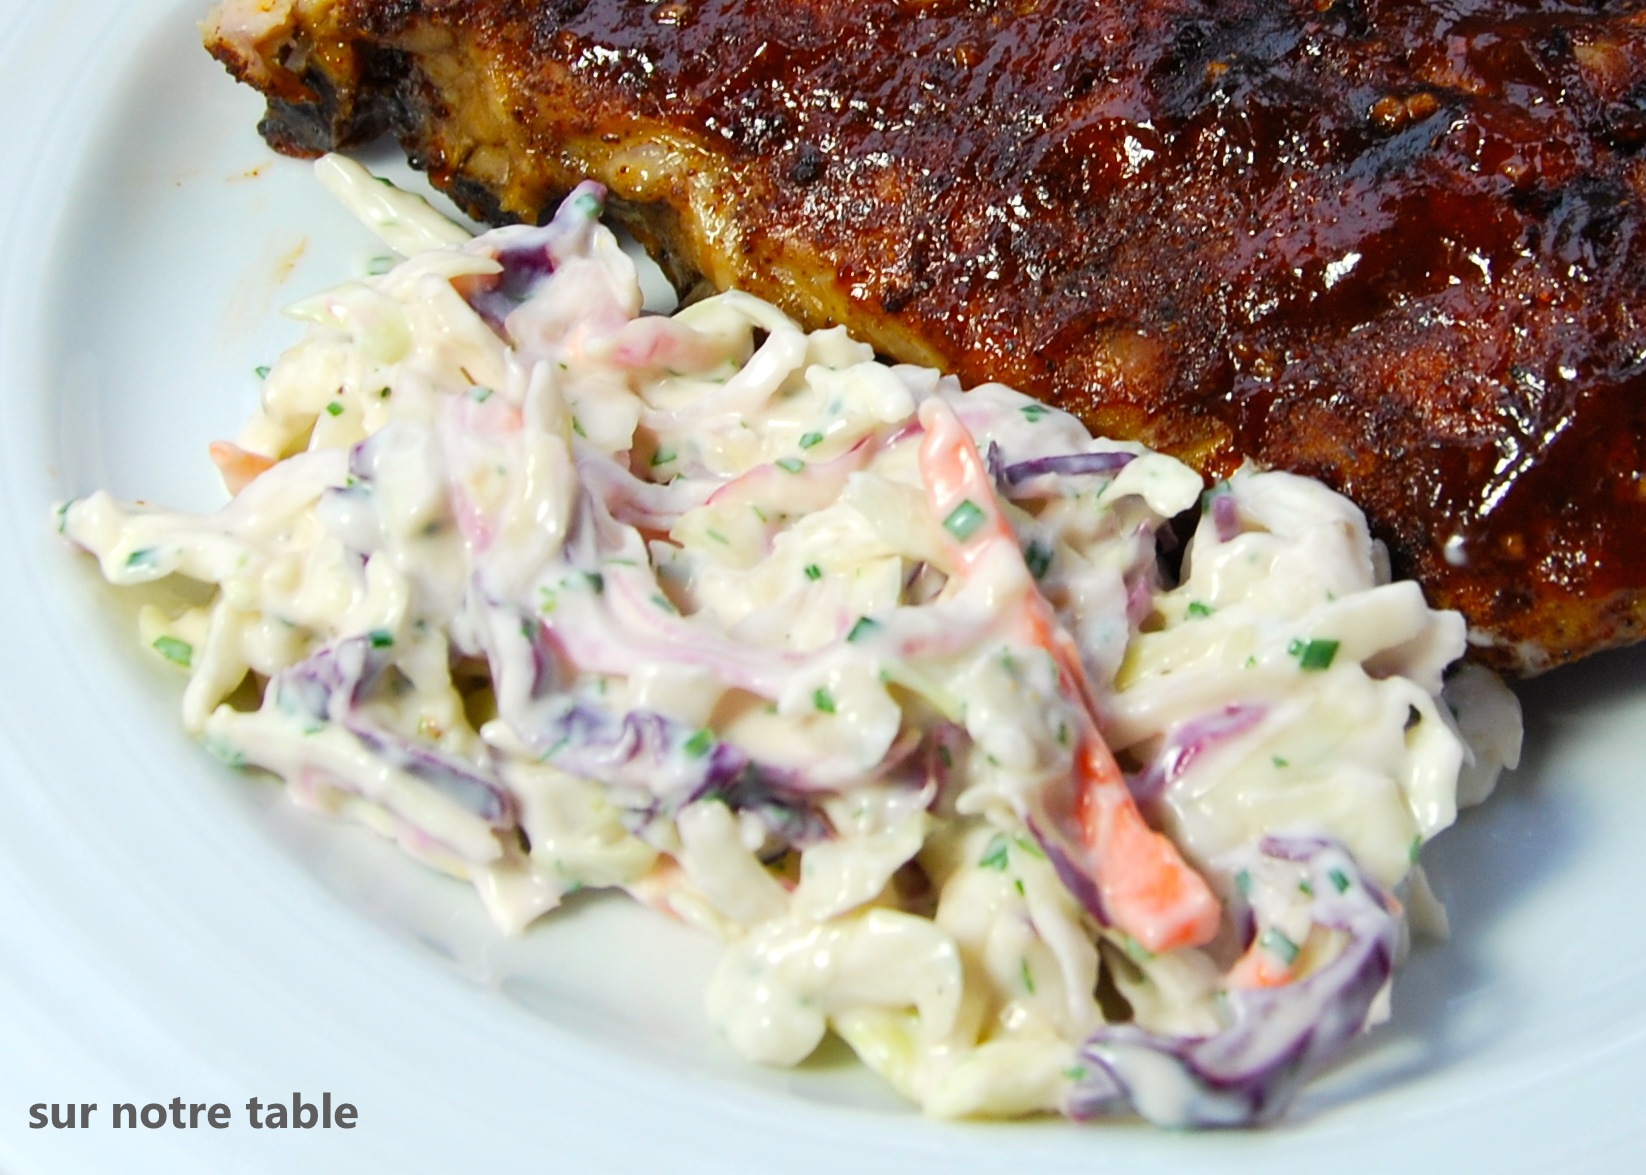
- When ready to BBQ, oil the BBQ rack, season the ribs lightly with salt and pepper and and brush the top of the ribs liberally with the sauce and place face down (the side with the sauce) on the BBQ grill. (If you do not have a BBQ or just want to do these in the winter, preheat your oven broiler to high and place ribs face up with sauce on an oiled rack in a broiler pan.) Grill the ribs until caramelized, for about 8 to 10 minutes. Then turn ribs over and brush with additional sauce, and cook until caramelized for another 8 minutes.
- Transfer ribs to a serving plate. For the perfect BBQ serve with corn on the cob and buttermilk coleslaw! Buttermilk coleslaw recipe follows!
Enjoy!