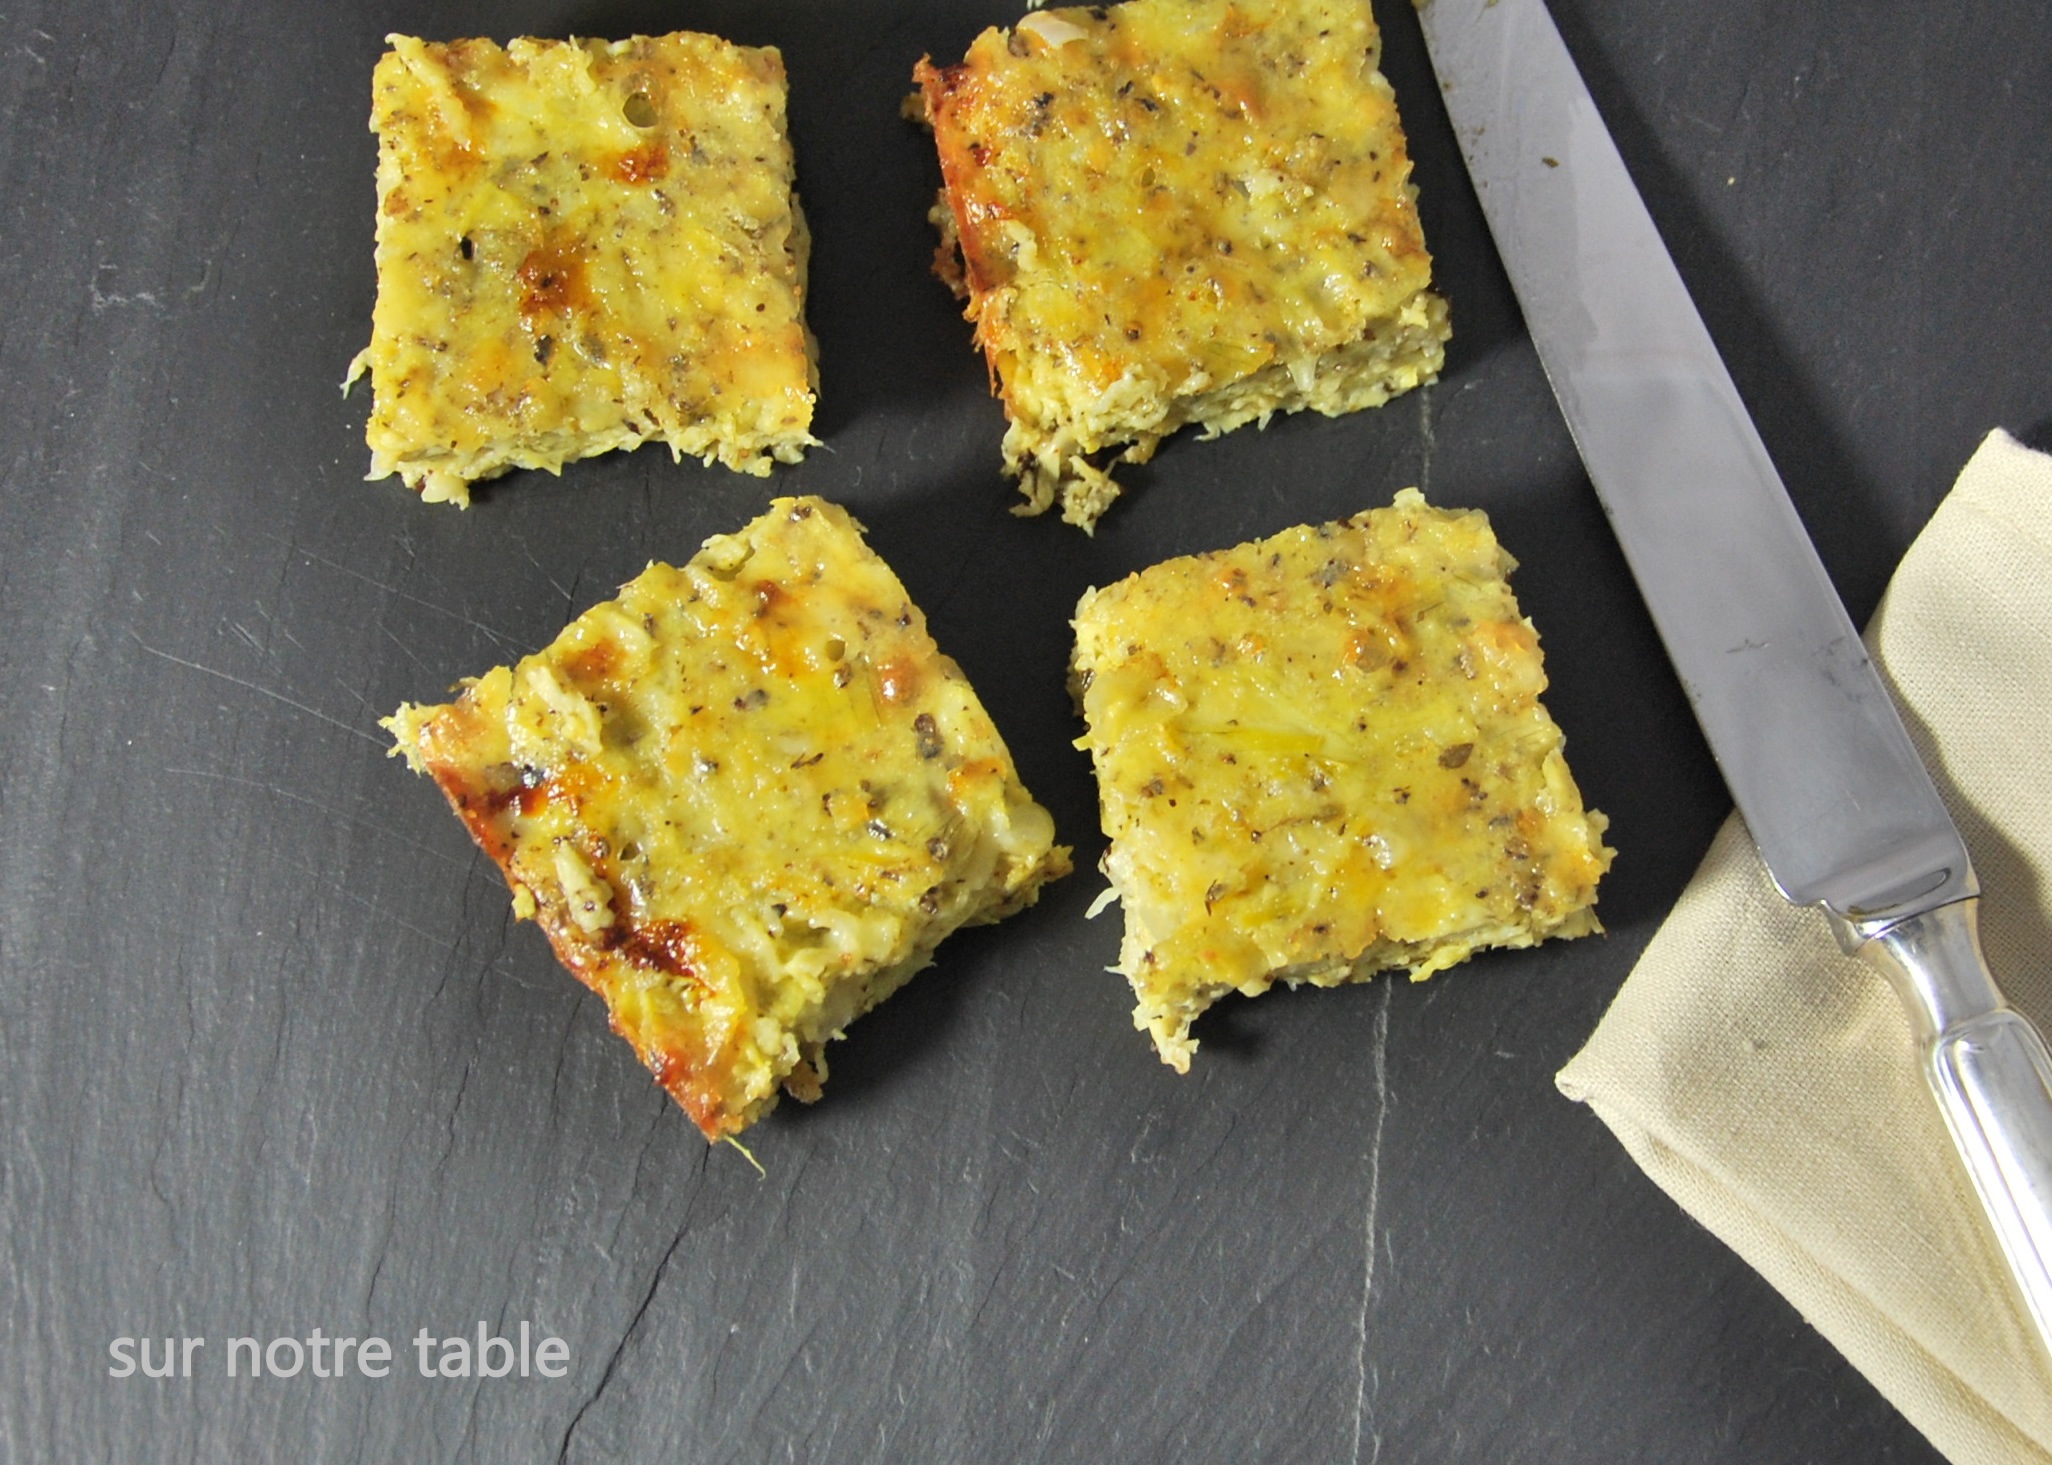
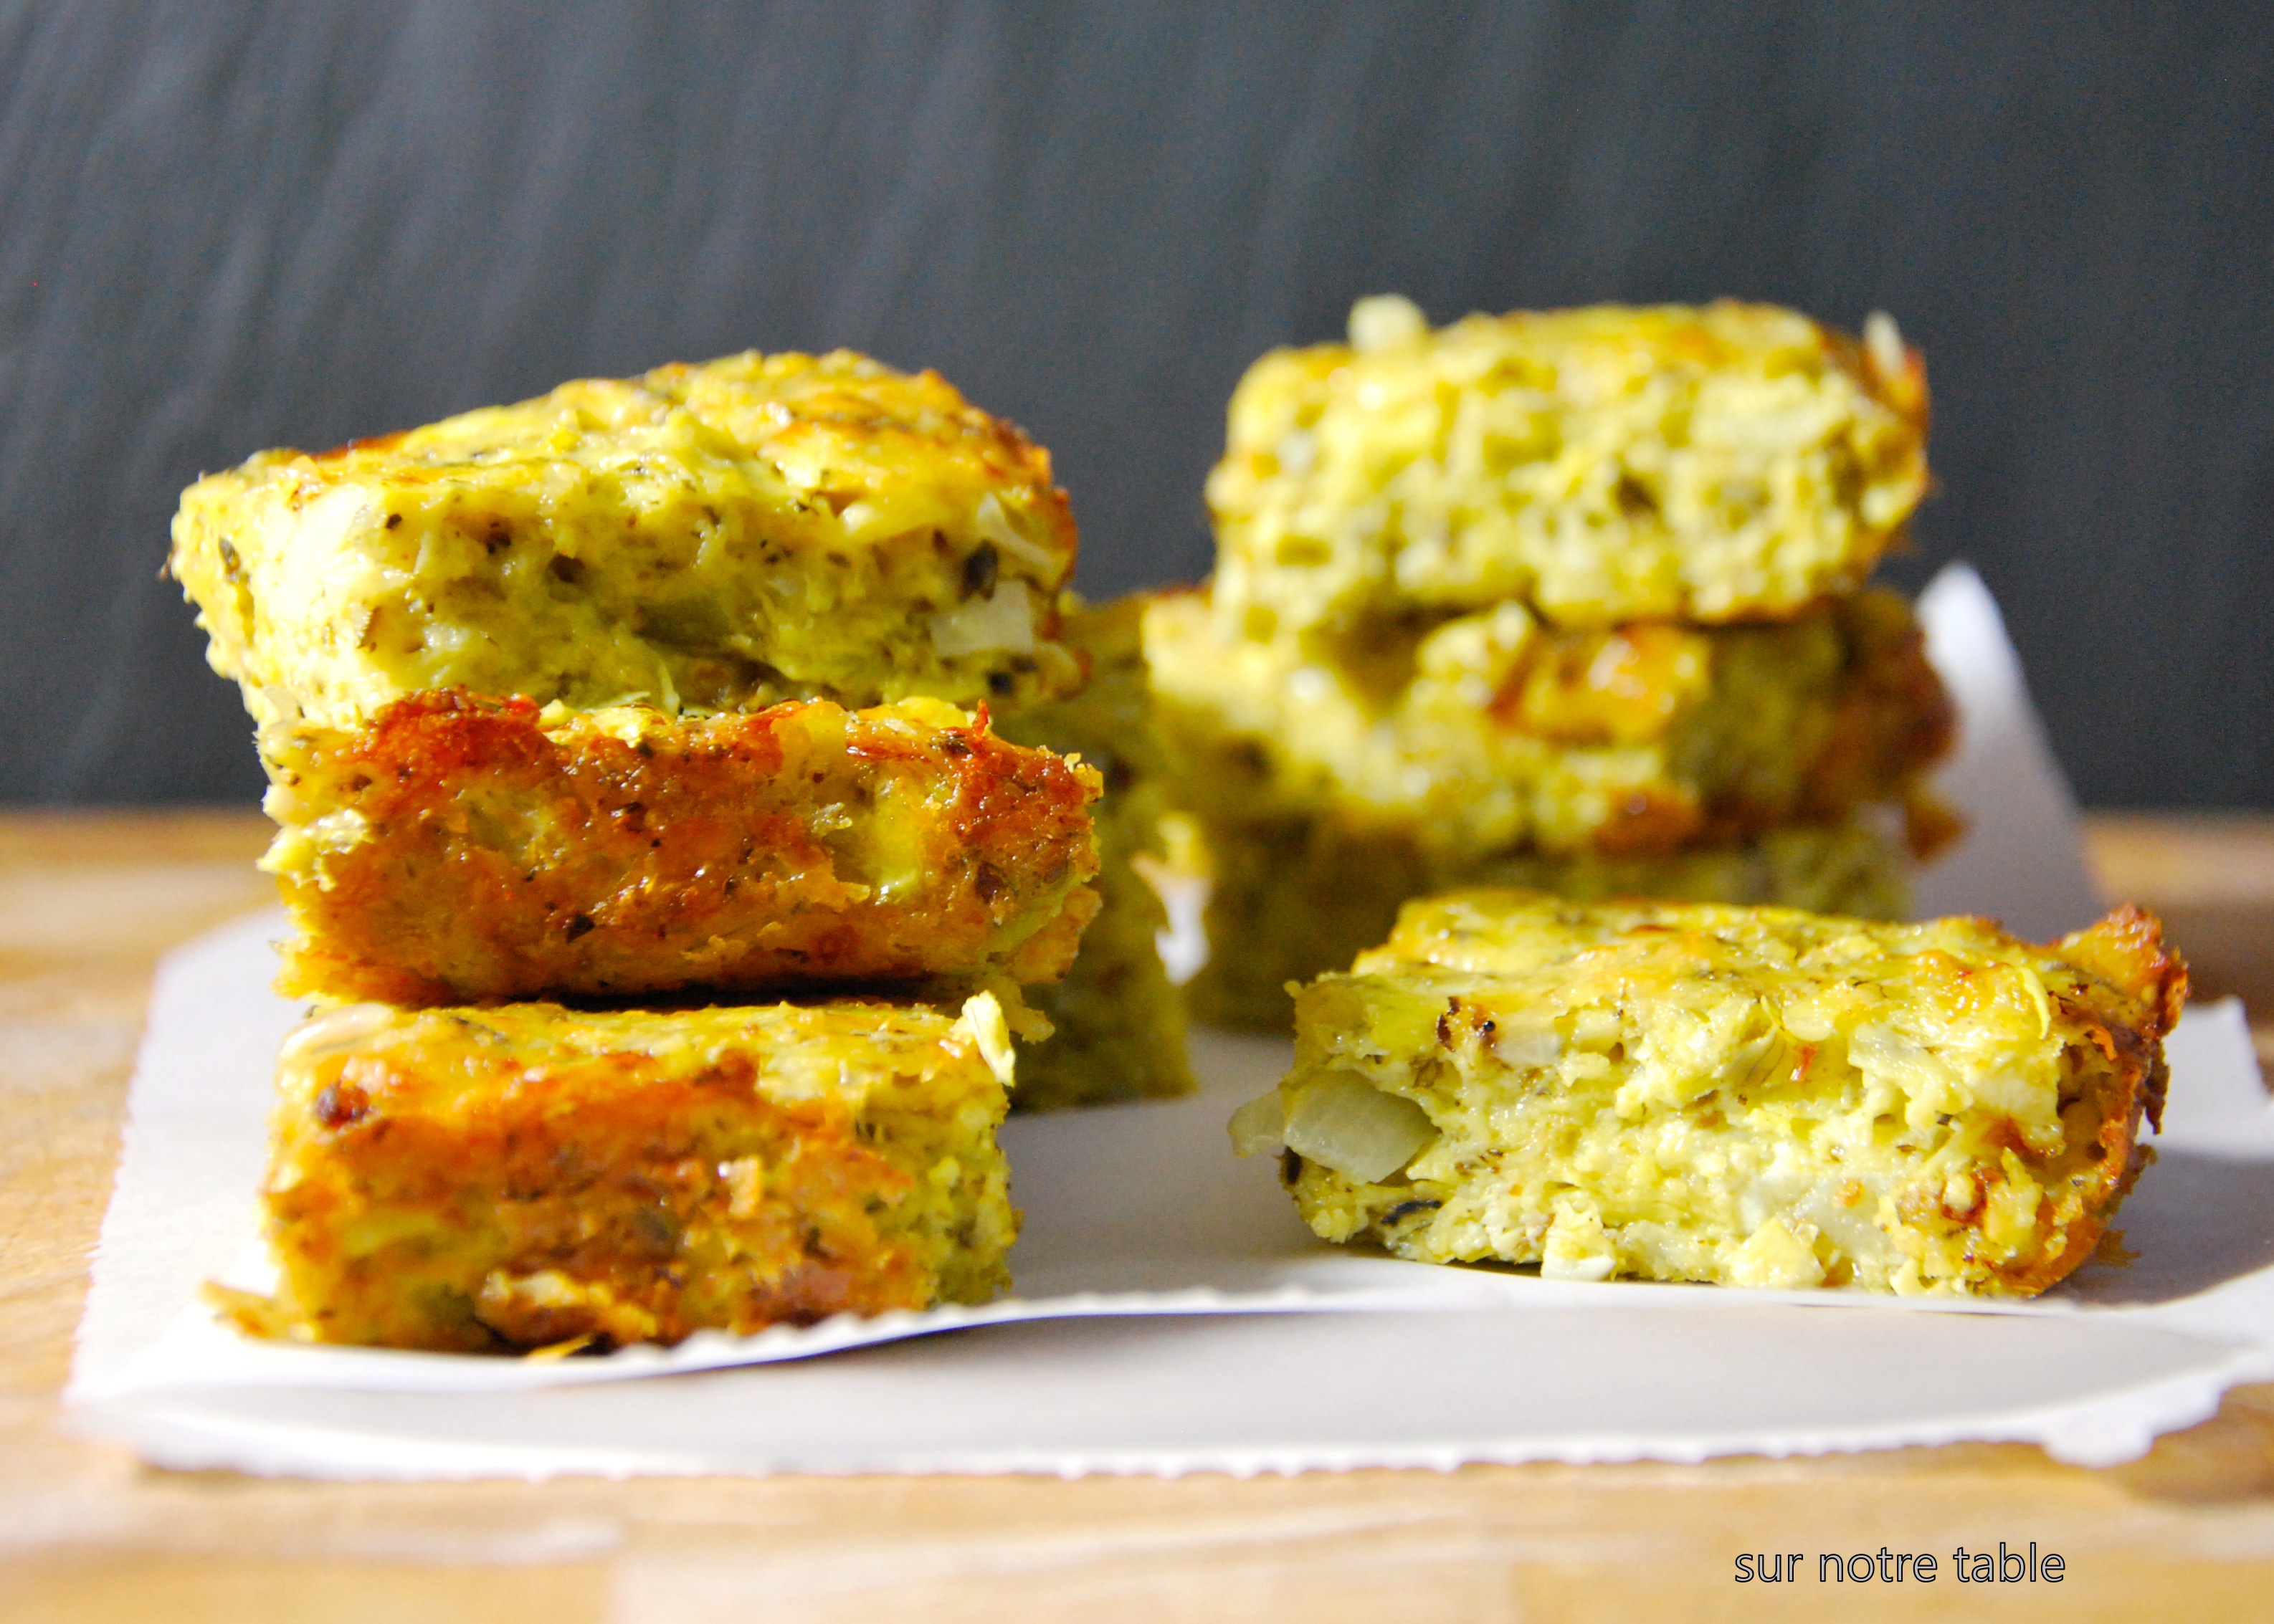
mom’s artichoke squares
I just love the concept of appetizers! The Spanish, with their tapas or the Greeks with the meze have it right when it comes to enjoying an entire meal savouring multiple small courses all night long. Tapas are great because it prolongs the time you spend around the table or, in our case, often around the kitchen island. What’s not to love when you get to taste a multitude of different courses instead of just the traditional three-course meal.
However serving tapas to your guests can result in a lot of work and stress if not planned properly. My husband and I have learned that the best way to serve tapas is to have on hand a combination of cold and hot tapas, which have been prepared in advance. All that needs to be done when the party comes around, is just some minimal assembly or reheating before they are served. This will ensure you can enjoy the party as much as your guests!
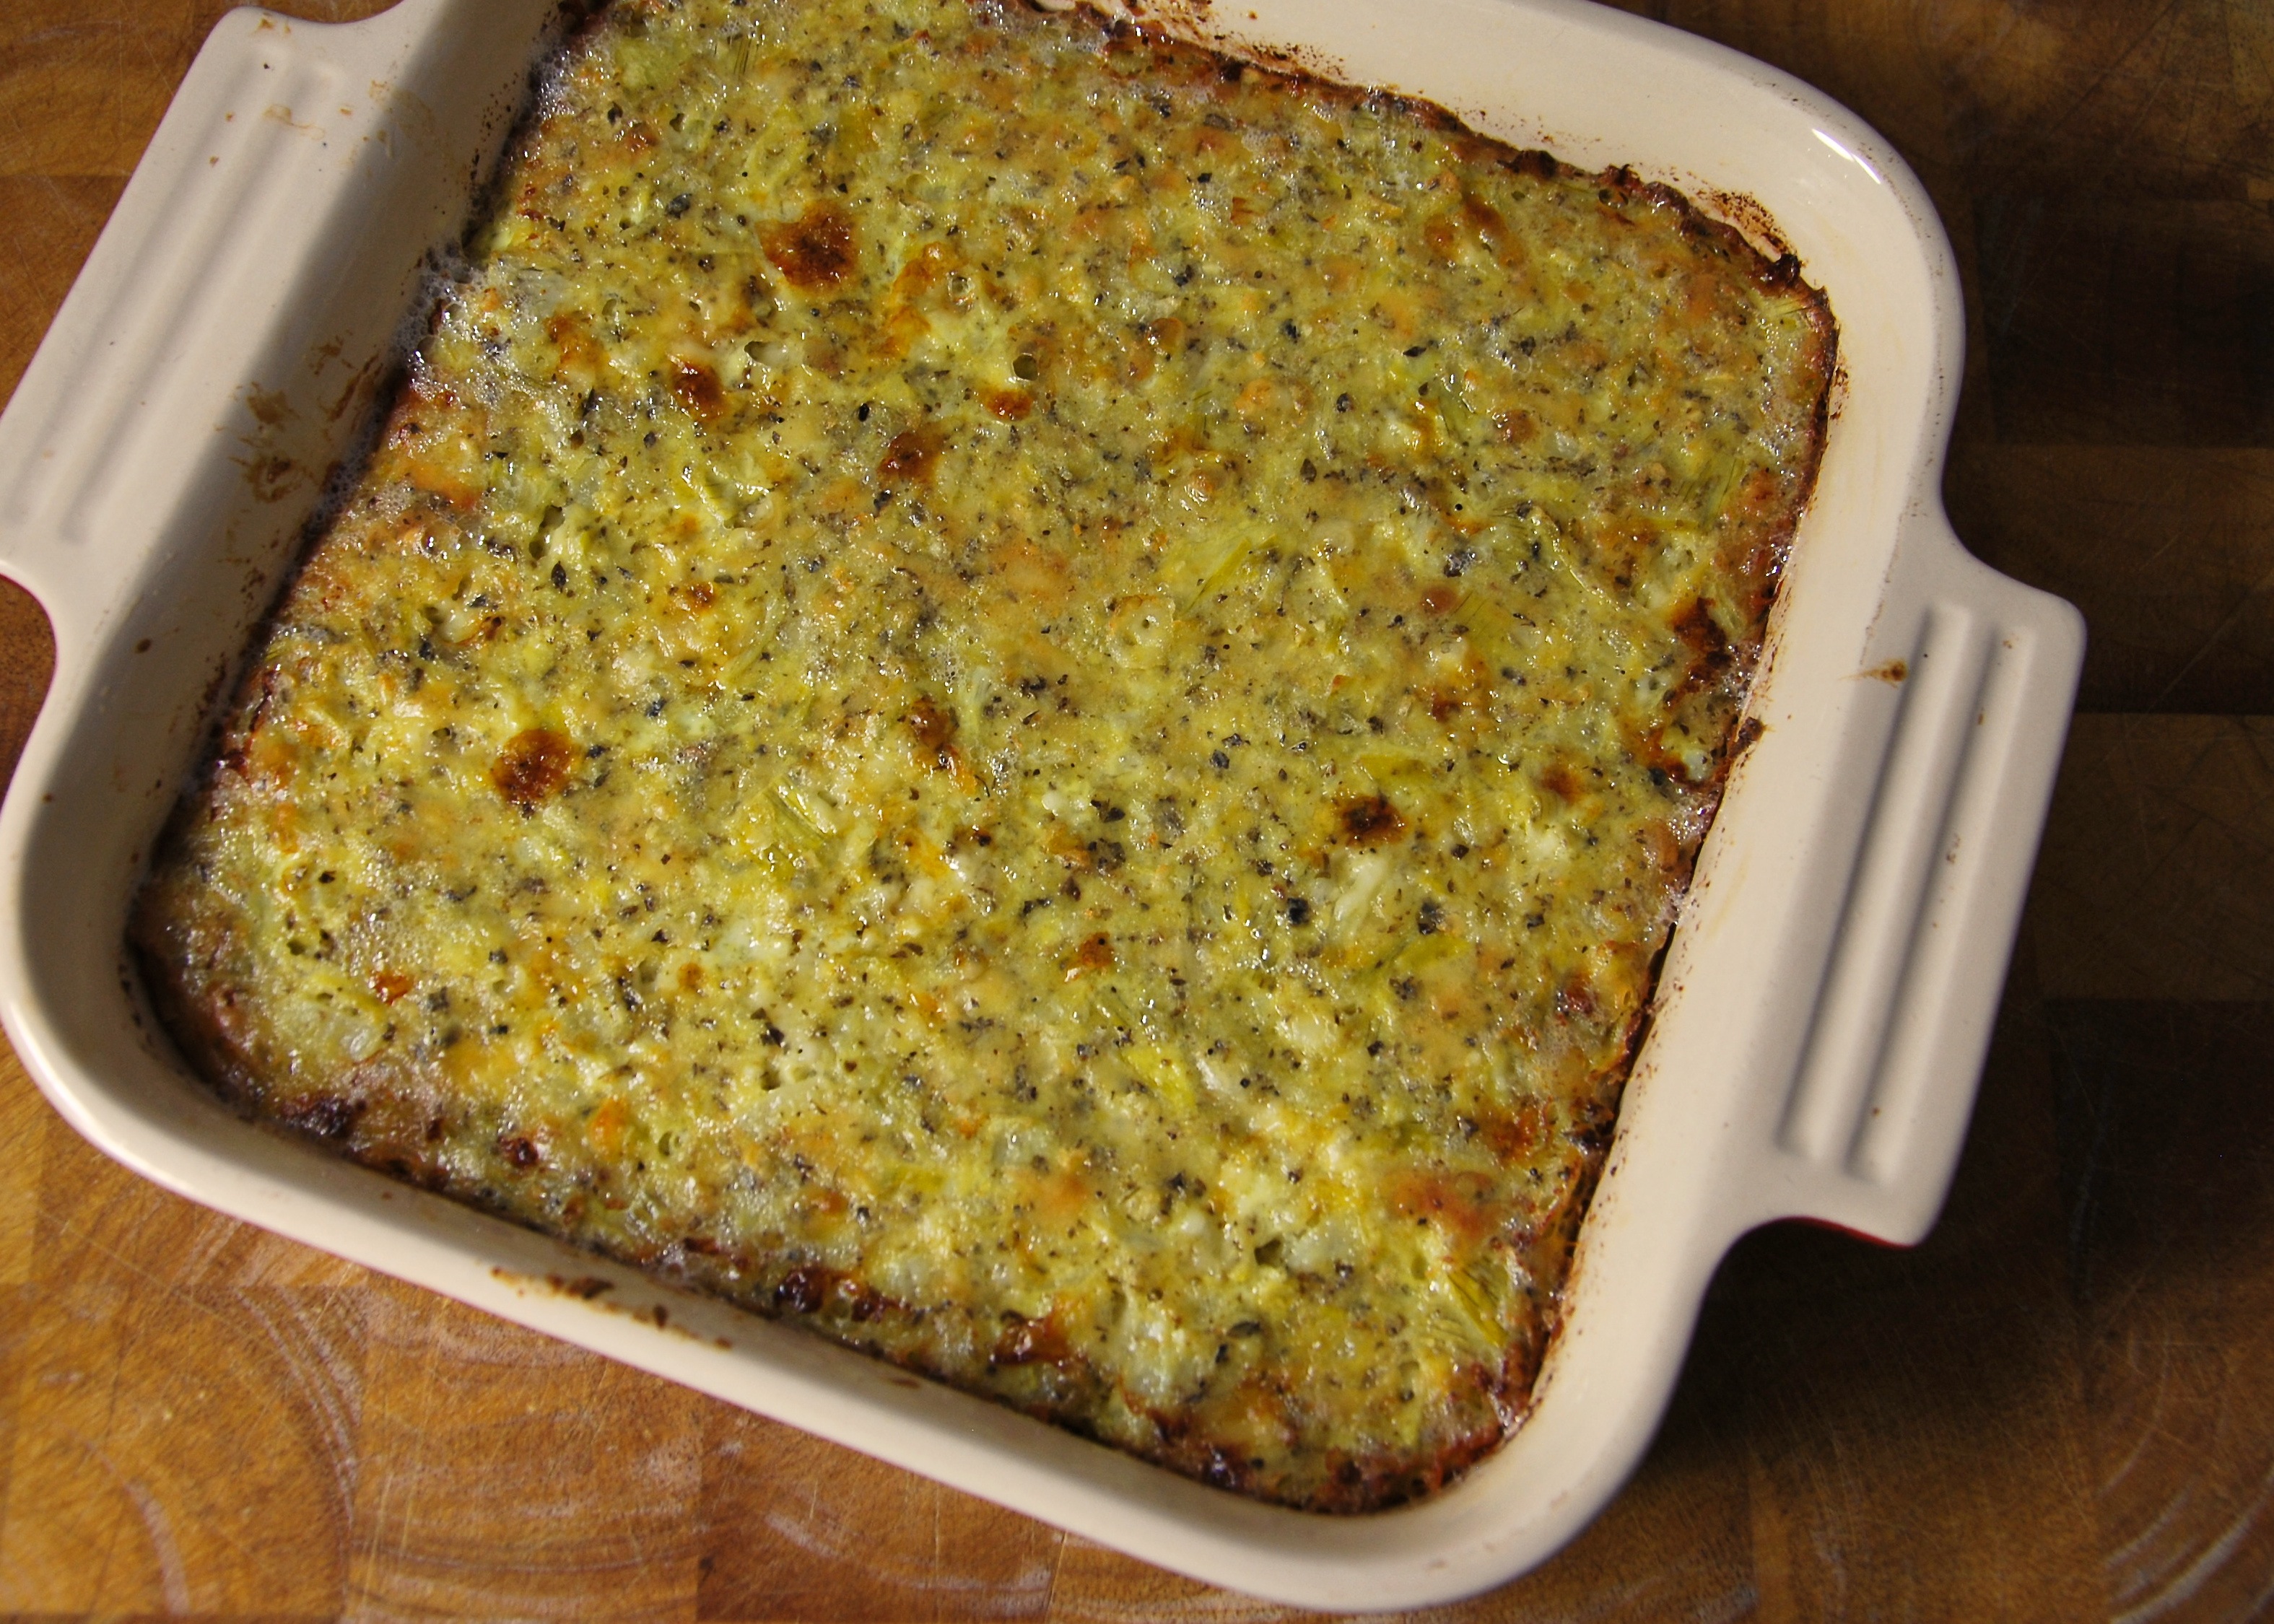
We’ve got a long list of favourite appetizers which I’m looking forward to posting on this blog, but as a start, I am sharing with you the easiest app you’ll ever make, my mom’s artichoke squares! It’s a little like a frittata because of the eggs, but don’t be fooled the taste is sophisticated enough for an appetizer.
This is a super easy recipe that requires minimal bowls and pans. You can make this one ahead, bake it and freeze it until you are ready to reheat and serve. Couldn’t be easier! And I can’t tell you how tasty and addictive these squares are, I guarantee that your guests won’t leave any behind.
mom’s artichoke squares
mom’s artichoke squares
ingredients:
- 1 medium yellow onion, finely chopped
- 2 tablespoons butter
- 2 garlic cloves, minced
- 1 can (398 ml or 1 1/2 cup) artichoke hearts, chopped
- 4 eggs, beaten
- 2 cups strong cheddar cheese, grated
- ¼ cup bread crumbs
- 1 ½ tablespoon greek oregano or regular oregano
- 2 dashes of tobasco
- pinch of salt and pepper
- Preheat oven at 350oF.
- Transfer chopped onion into a large microwaveable bowl along with butter. Cook onions and butter in microwave for about 3 minutes until onions are softened and remove from microwave. As you know, handle bowl safely as it may be very hot.
- Before chopping each artichoke, ensure to drain each heart of water by squeezing the water out of them.
- Thoroughly combine remaining ingredients (garlic, artichokes, eggs, cheddar cheese, bread crumbs, oregano, tobasco, salt and pepper) in bowl with softened onions.
- Spread artichoke mixture evenly into a 9″ square pan.
- Bake at 350oF for 35 minutes.
- Cool slightly and cut into squares and serve warm.
mom’s artichoke squares
If freezing before serving, cool completely after baking and cut into squares. Store squares in an airtight container with parchment paper separating layers of squares. You can therefore serve the quantity that you wish when needed and store the rest for up to 2 weeks in the freezer. Before serving reheat oven at 350oF and bake for 15-20 minutes.
Voila!