escargots à la bourguignonne
I know, I know, what could be appetizing about this slimy-looking mollusk? You’re probably telling yourself, I’ve never been interested in trying them, or I’ve tried them but they didn’t float my boat, so why should I go on reading this, as there’s no way I’m going to make this recipe!
Well, let me keep your interest for one more paragraph or two and try to convince you to give it a shot!
For those of you who tried them and didn’t like them it may have to do with the size of the snails. In this case, bigger is not better, they are just too rubbery, and that is certainly not appetizing for anyone. So yes, if you’ve had the big ones, I could completely understand your disdain for them. But go small and I’m certain you’ll be converted.
For those of you who have not tried them and may be a little turned off by the idea of ingesting a slimy mollusk, well they will not be slimy, unlike raw oysters, you will be eating them cooked soaking in garlic butter which makes them even more palatable and tender. The best part is that you’re sopping up all that melted garlic butter with crusty bread, which probably explains why I liked them the first time I tried them, as a 5 year old child living in the Loire region of France with my parents. So if a 5-year-old kid approves, it can’t be that gross!
If you do decide to trust me on this and take the leap and make escargots à la bourguignonne, don’t even think about buying fresh snails, it’s not worth the trouble of cleaning them, purging them of their toxins, etc… Just buy them canned however do look for the brand which contains the greatest number of snails in the cans, this obviously means that the snails will be smaller. Avoid any can labeled “big snails” or “gros escargots”! There is also an exquisite kind from France, called “petit gris”, and if you’re lucky to find those you’ll be converted forever.
Lastly, the other reason I’m so enthusiastic about escargots à la bourguignonne is that they are easy breezy to prepare, they can be prepared in advance, frozen and cooked when required. This makes for a great last minute appetizer.
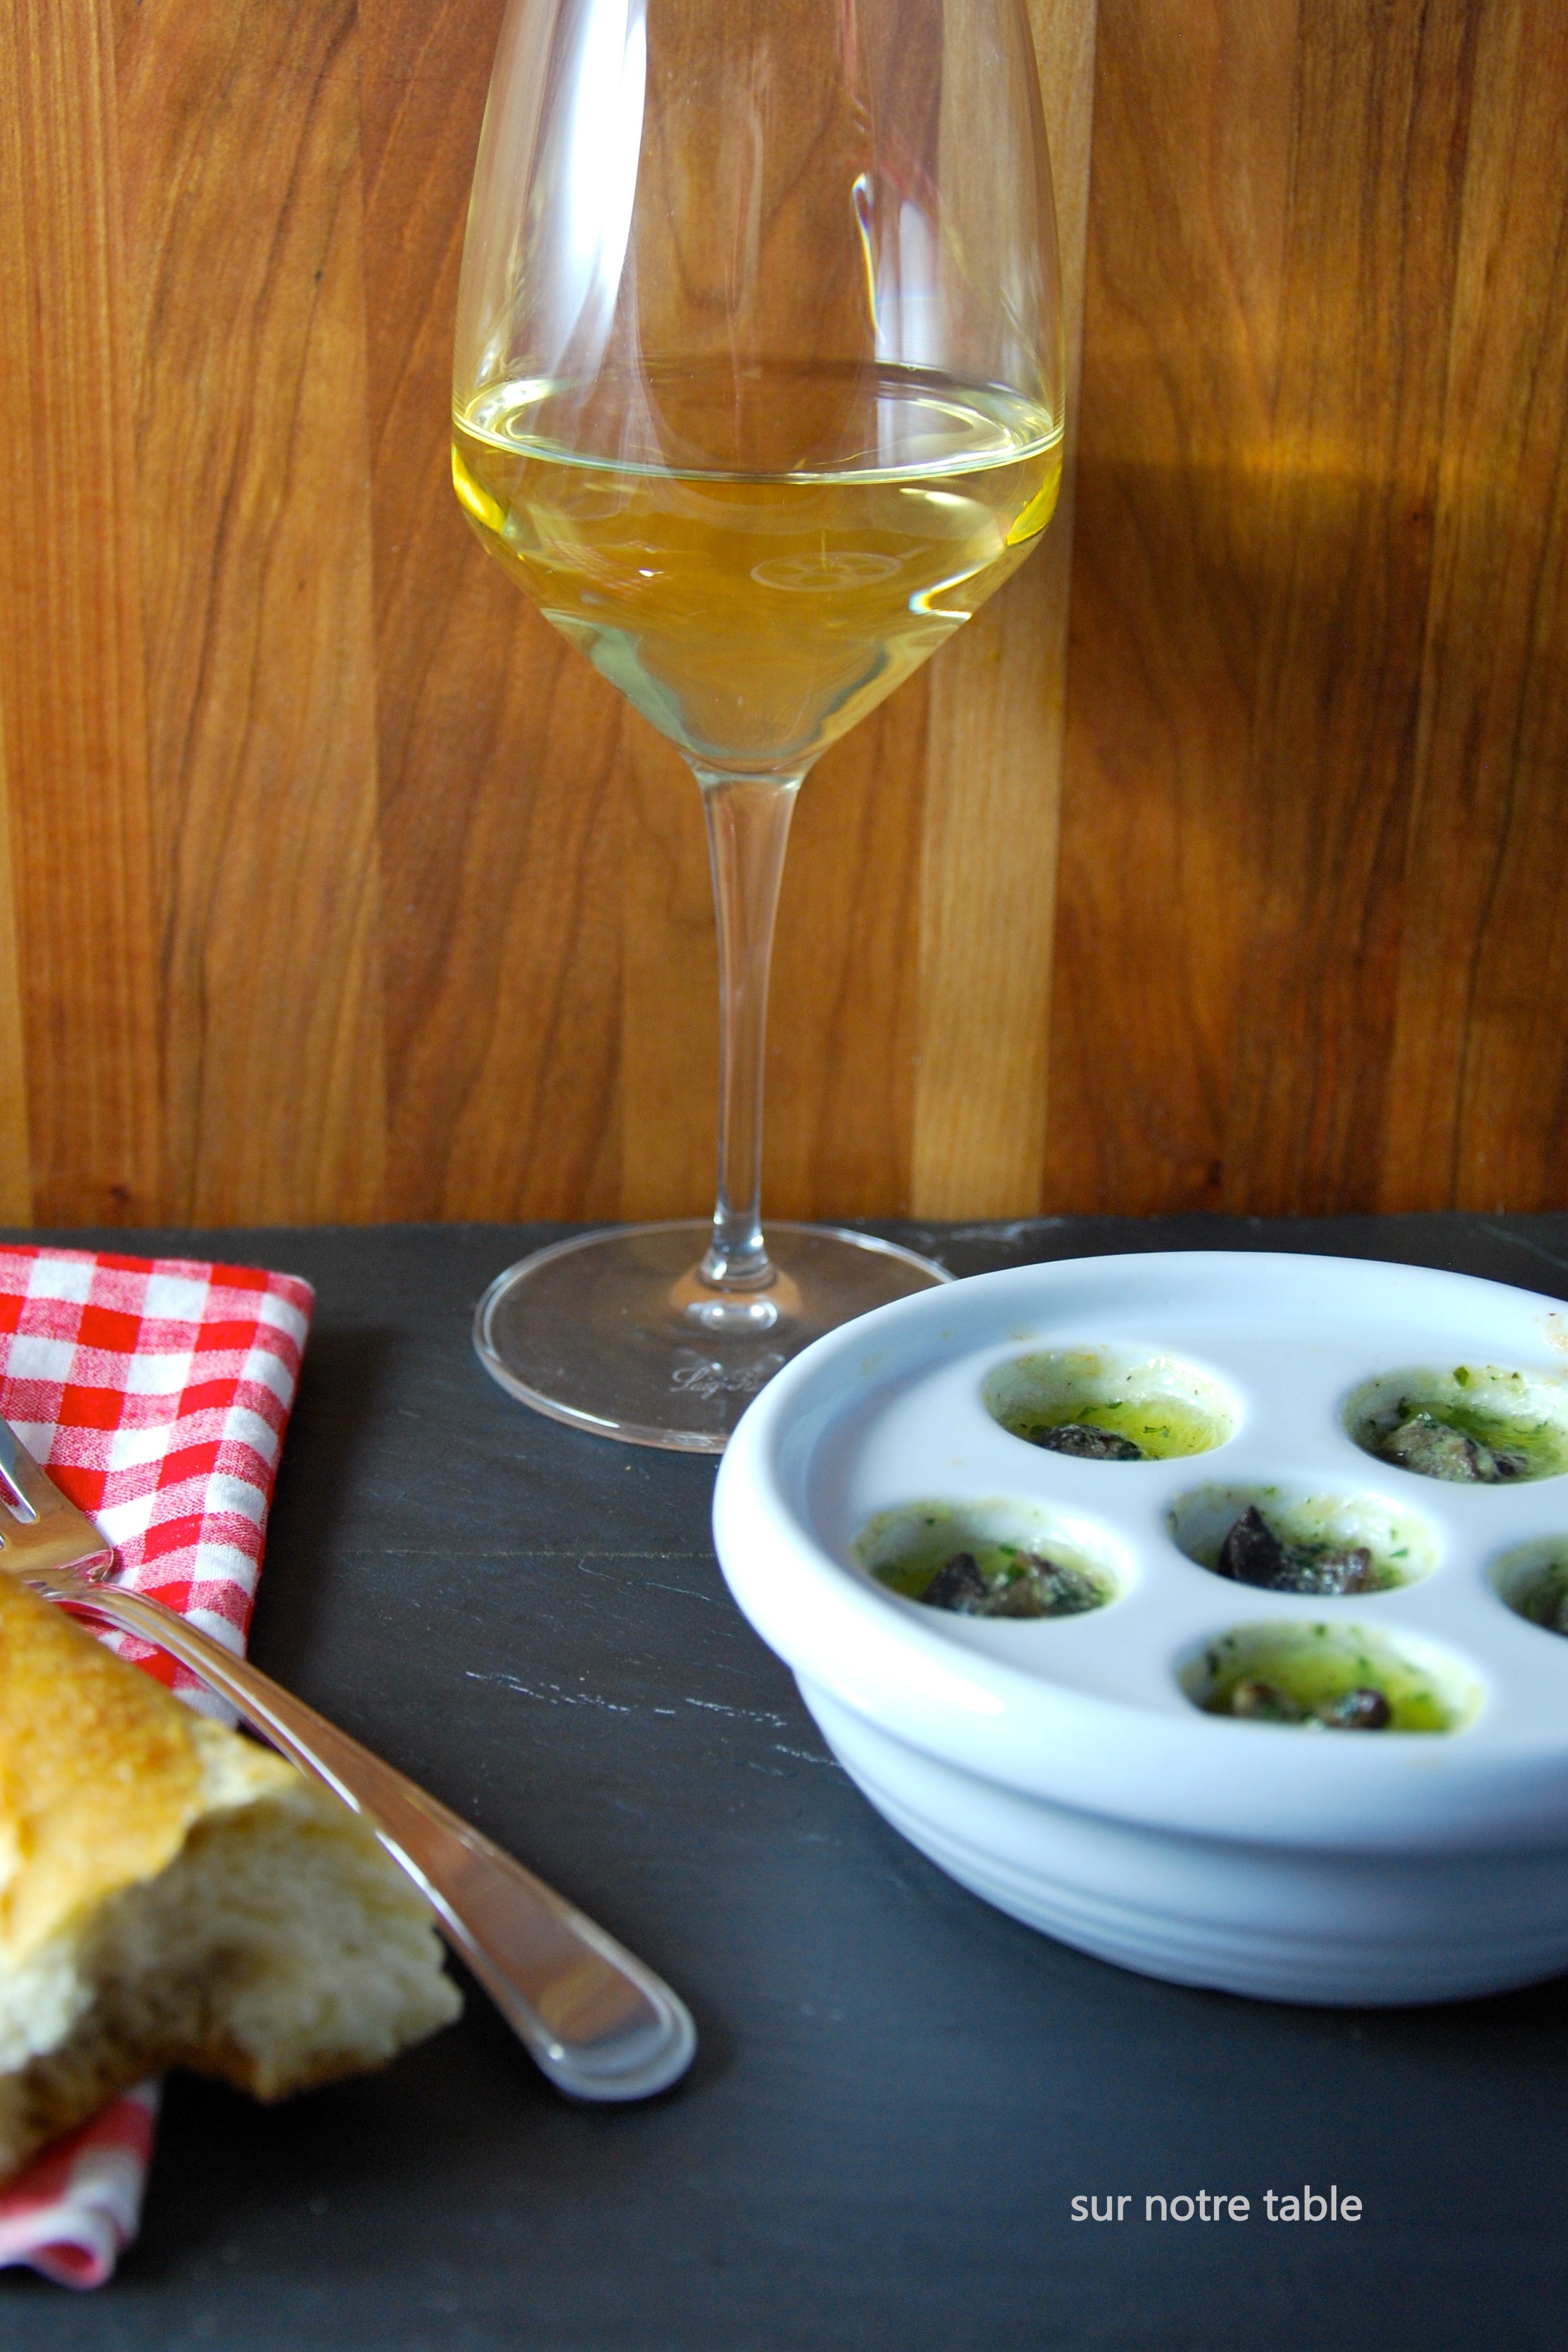
escargots à la bourguignonne

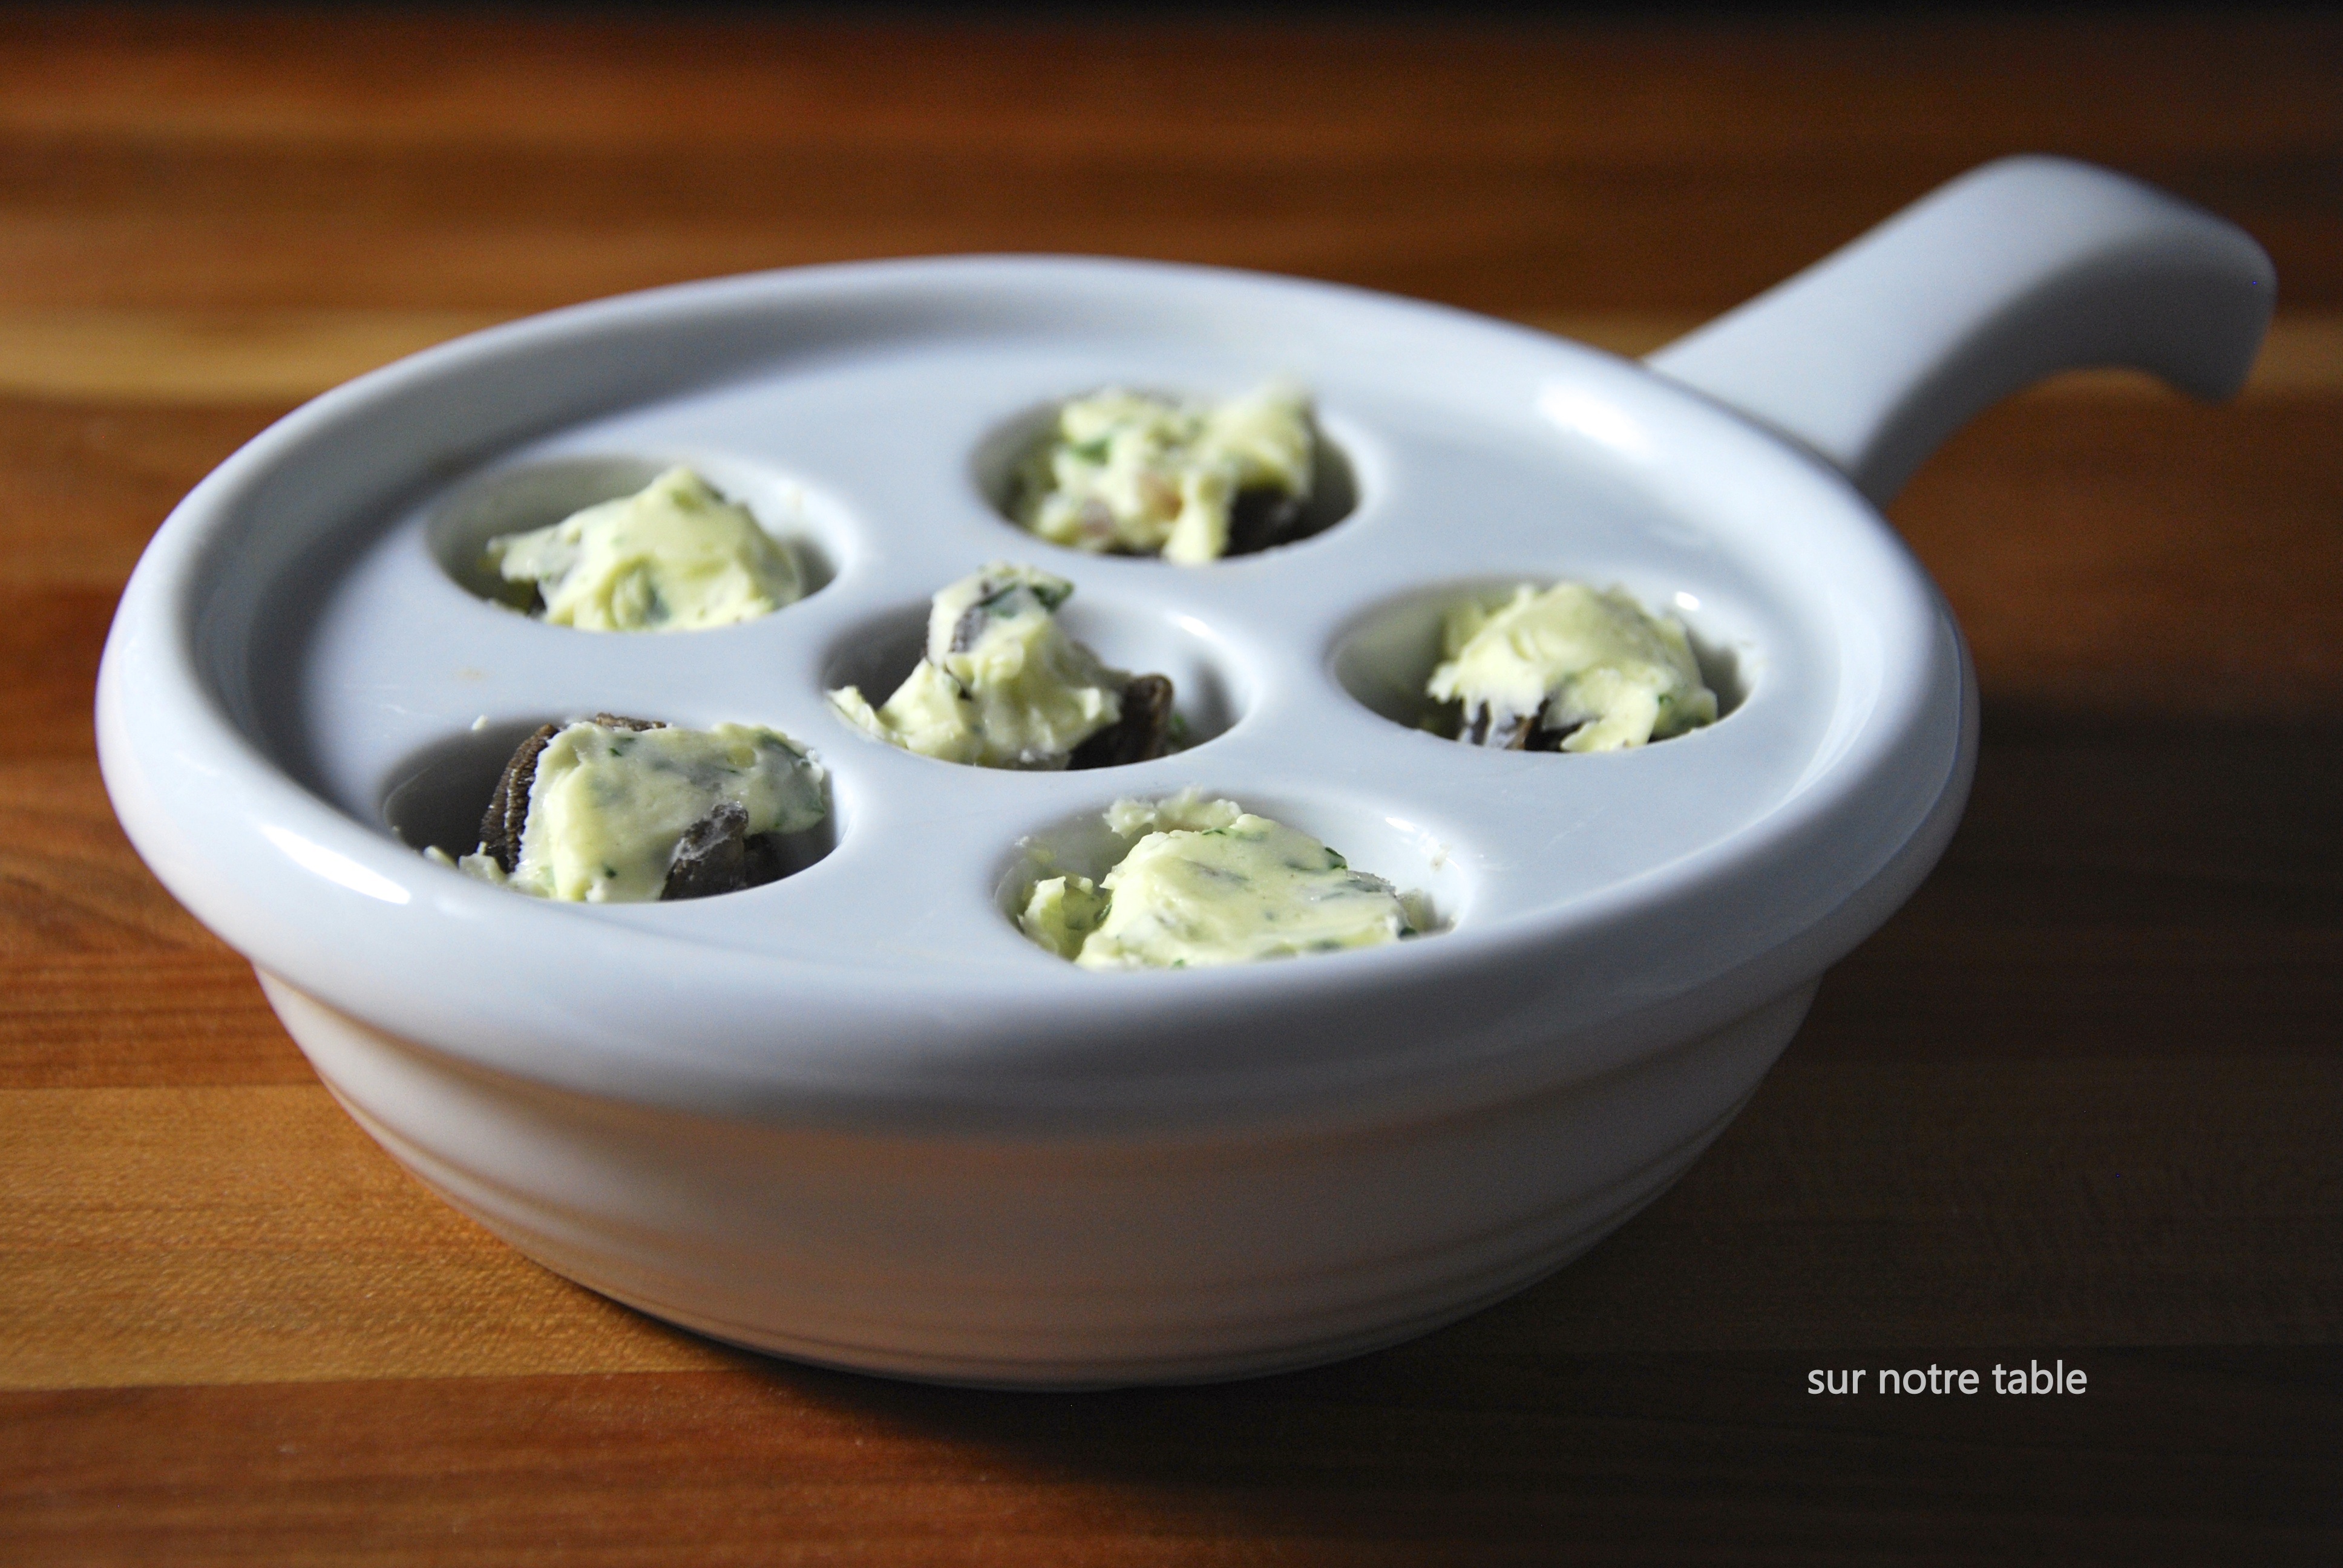
escargots ready to bake
For this recipe you will need porcelain escargots dishes as shown above.
ingredients :
- 1 garlic clove, minced and mashed
- ¼ teaspoon kosher salt
- ½ cup unsalted butter, softened
- 1 ½ teaspoons shallot, finely minced
- 1 tablespoon flat-leaf parsley, finely chopped
- ¼ teaspoon black pepper
- 1 tablespoon dry white wine
- 1 can of small snails
- French baguette
Makes 6 ½ dozen
- Preheat oven to 450oF
- Take minced garlic and mash it with salt to create a paste.
- Combine softened butter, shallot, garlic paste, parsley and pepper and then beat in wine.
- Rinse snails.
- Place ½ teaspoon of garlic butter inside every depression of the escargot dish and place on top of the butter one snail and then top each snail with another ½ teaspoon of garlic butter.
- At this point you can cover each dish tightly with aluminum foil and freeze until you’re ready to bake them.
- When ready to bake just remove foil and bake in oven between 4 to 6 minutes, until the butter is melted and is bubbling.
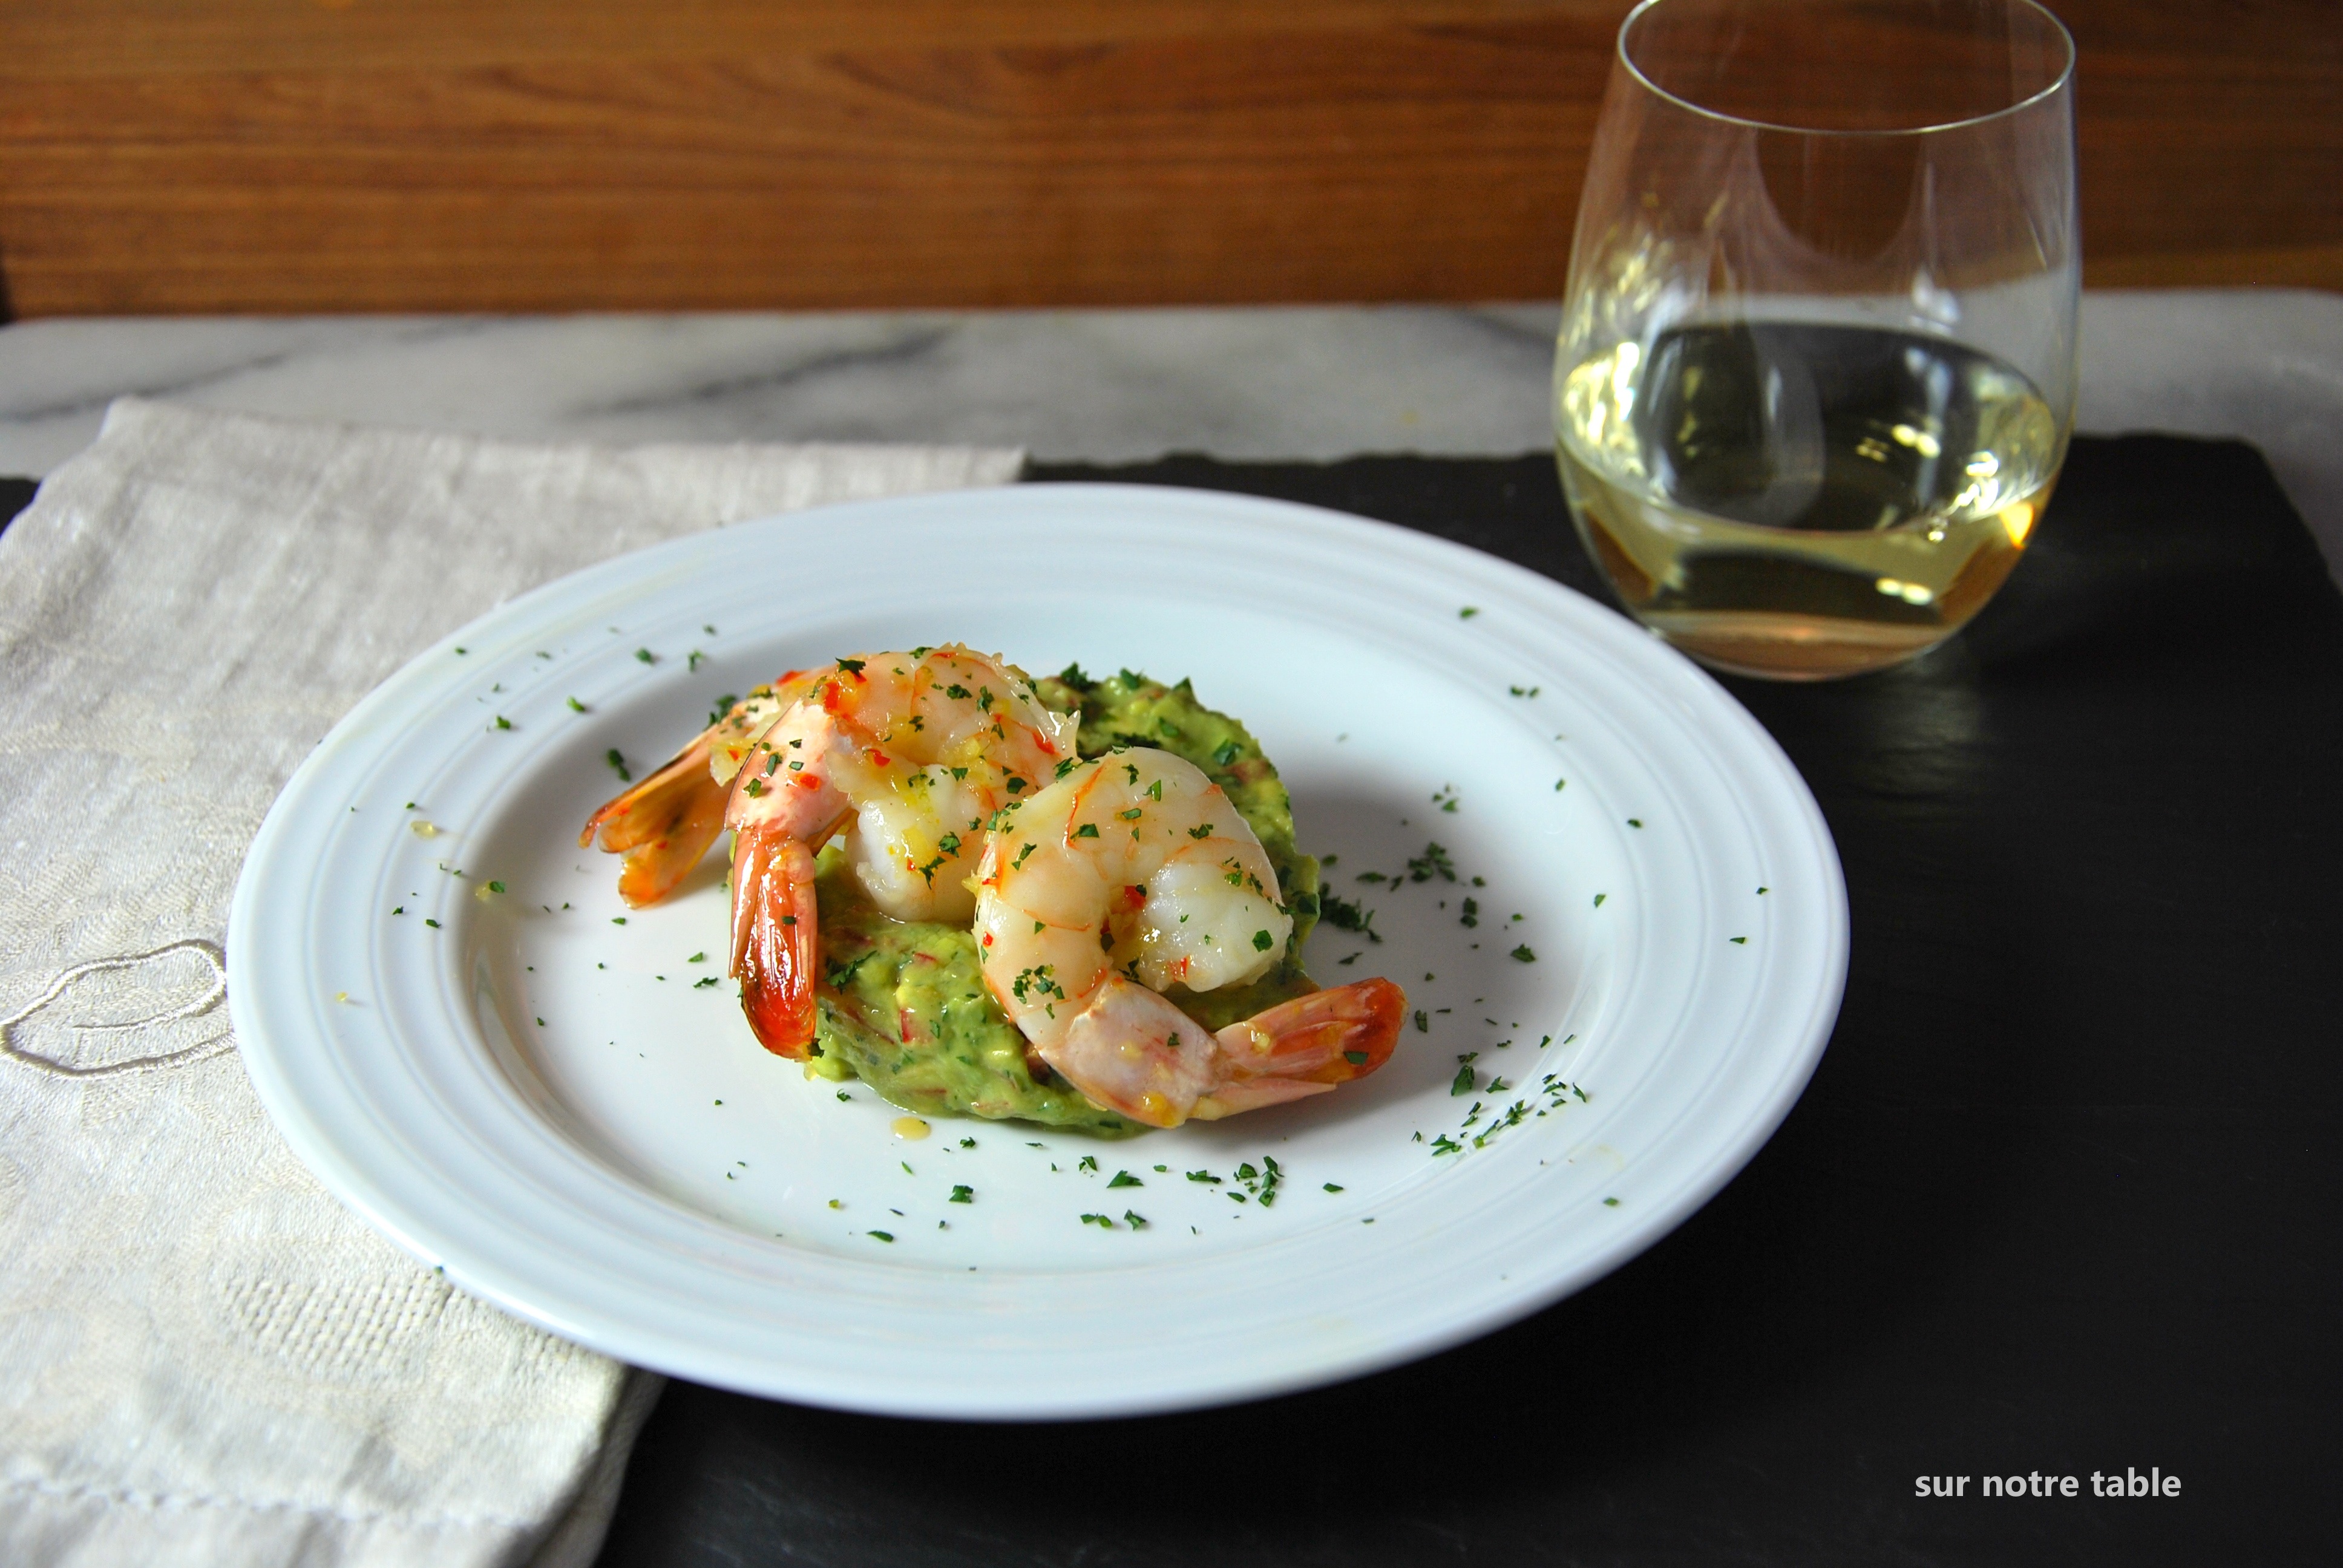
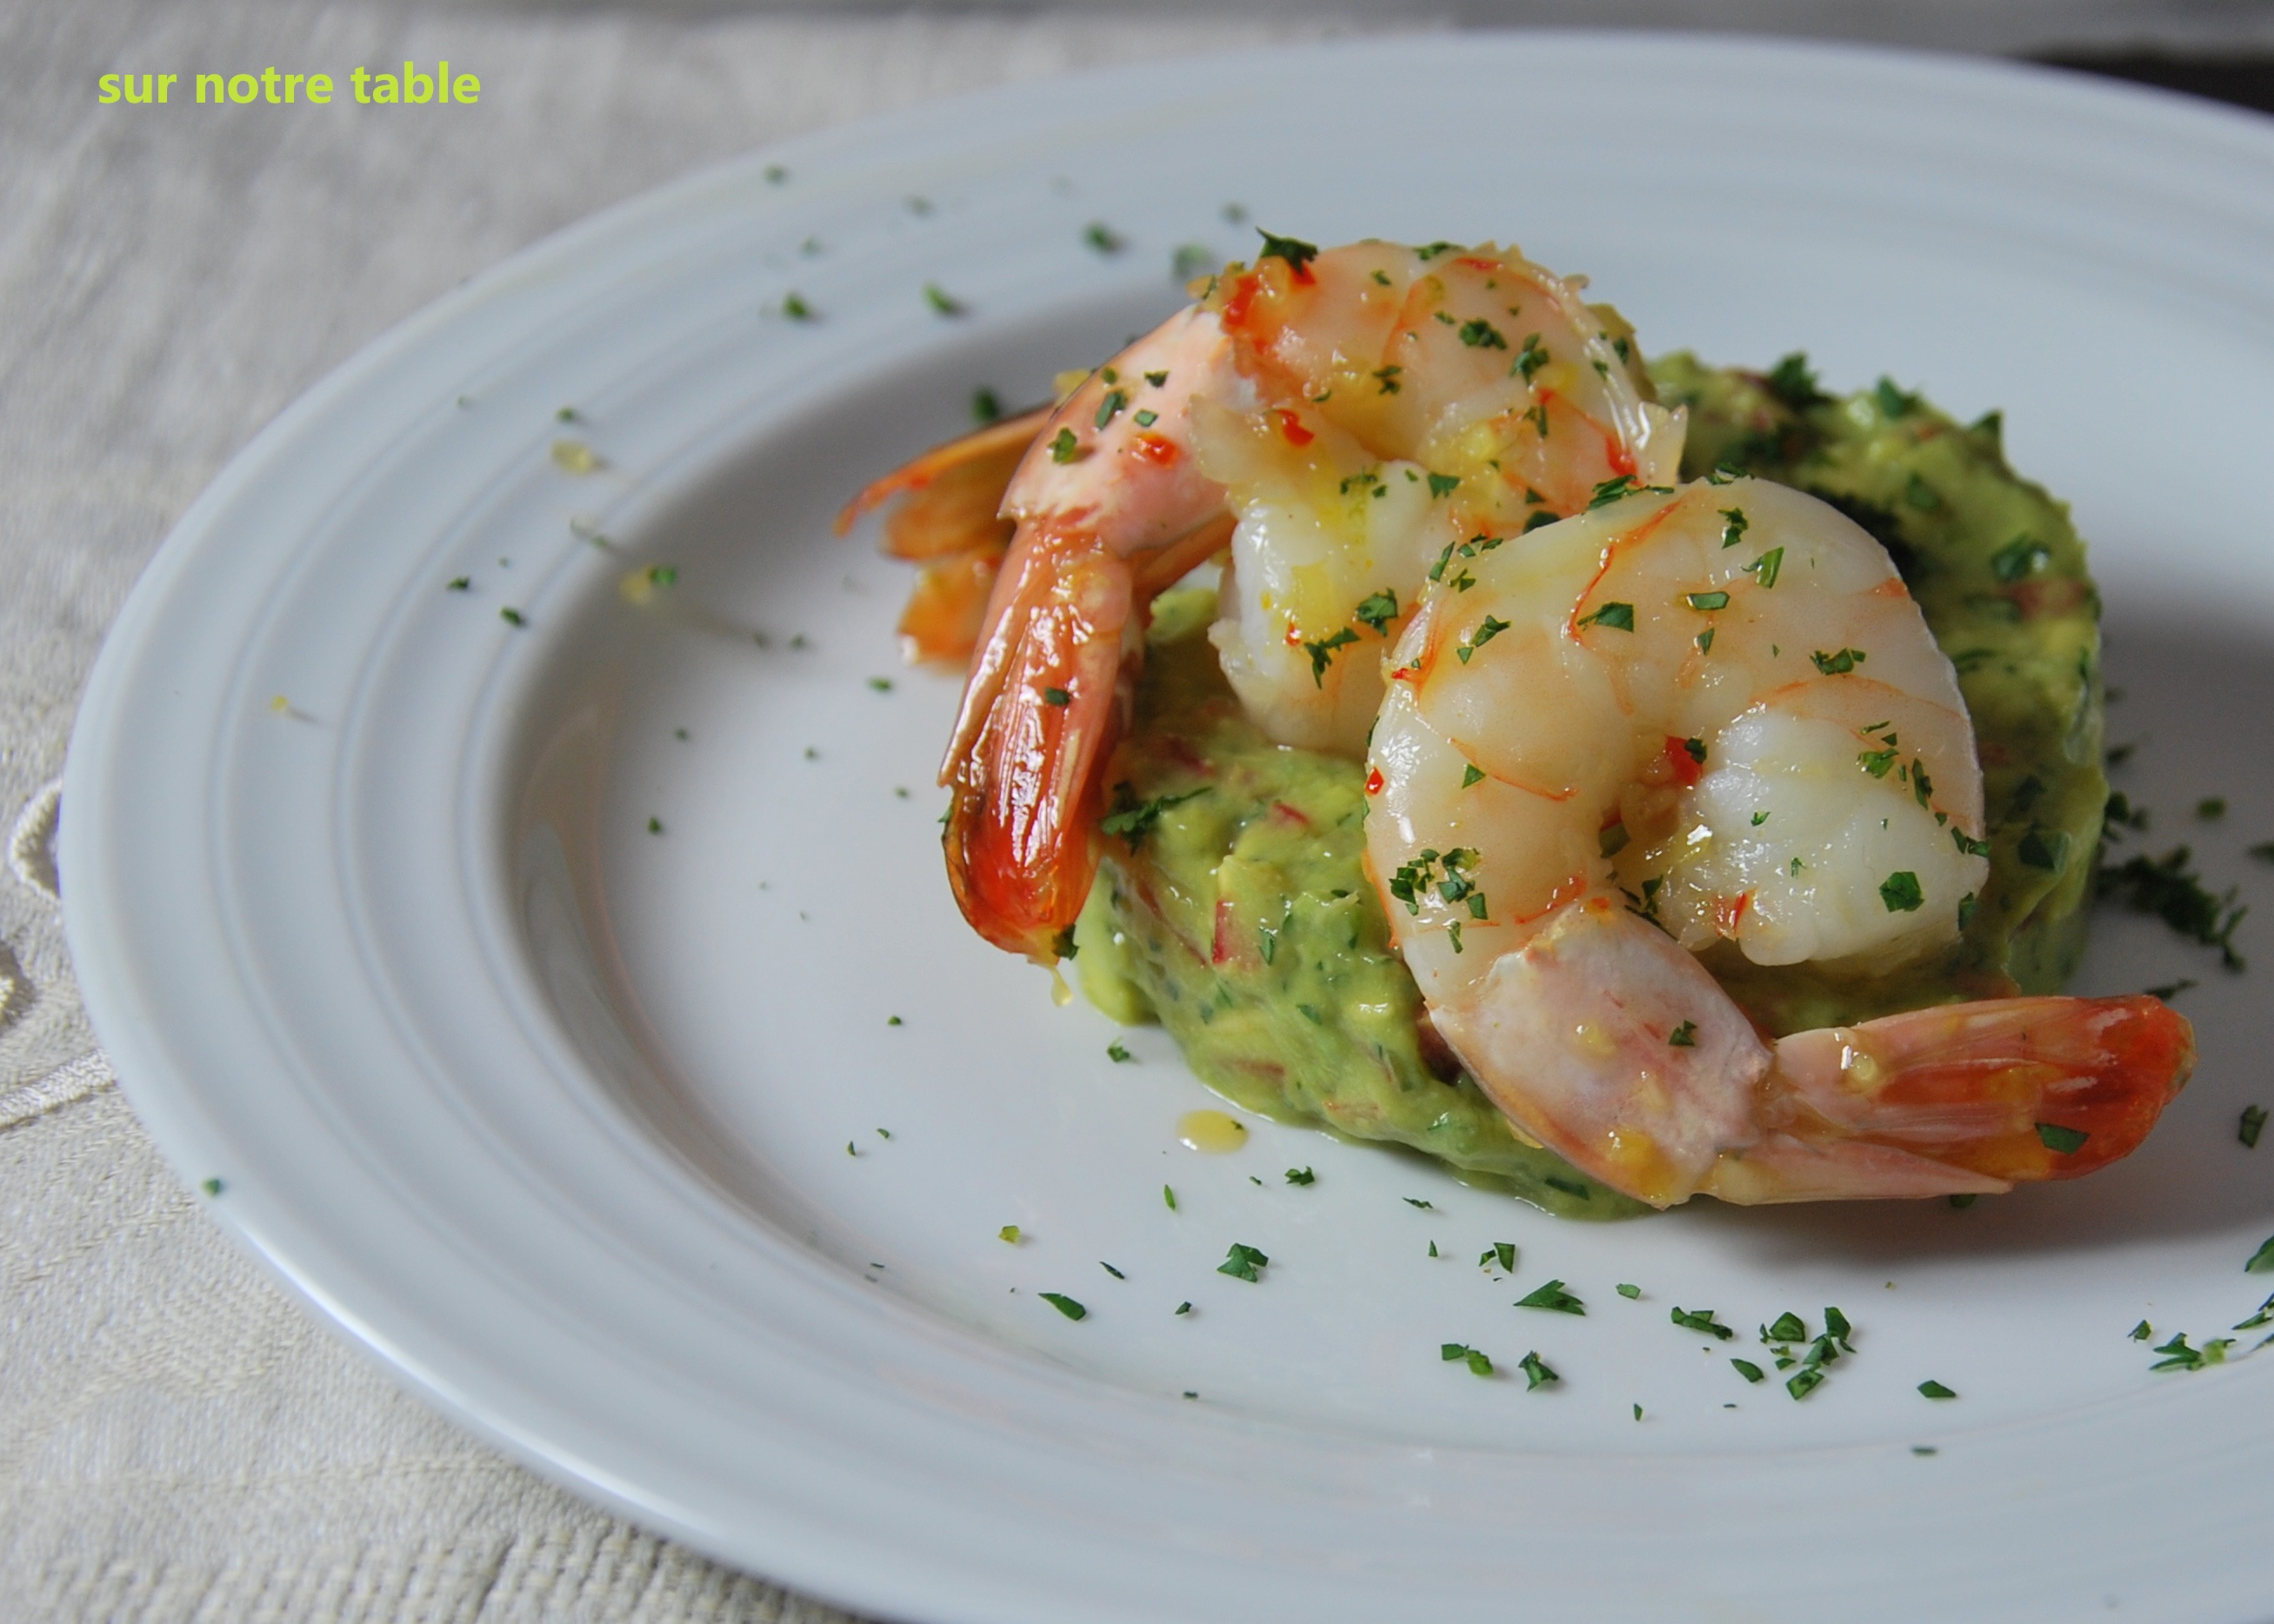
- Serve with baguette and a great bottle of white wine, in this case I’m partial to a muscadet!

escargots à la bourguignonne and muscadet